Fortanix SDKMS
This guide shows how to setup a KES server that uses Fortanix SDKMS as a persistent and secure key store:
                         ╔═════════════════════════════════════════════════╗
┌────────────┐           ║  ┌────────────┐              ┌────────────────┐ ║
│ KES Client ├───────────╫──┤ KES Server ├──────────────┤ Fortanix SDKMS │ ║
└────────────┘           ║  └────────────┘              └────────────────┘ ║
                         ╚═════════════════════════════════════════════════╝
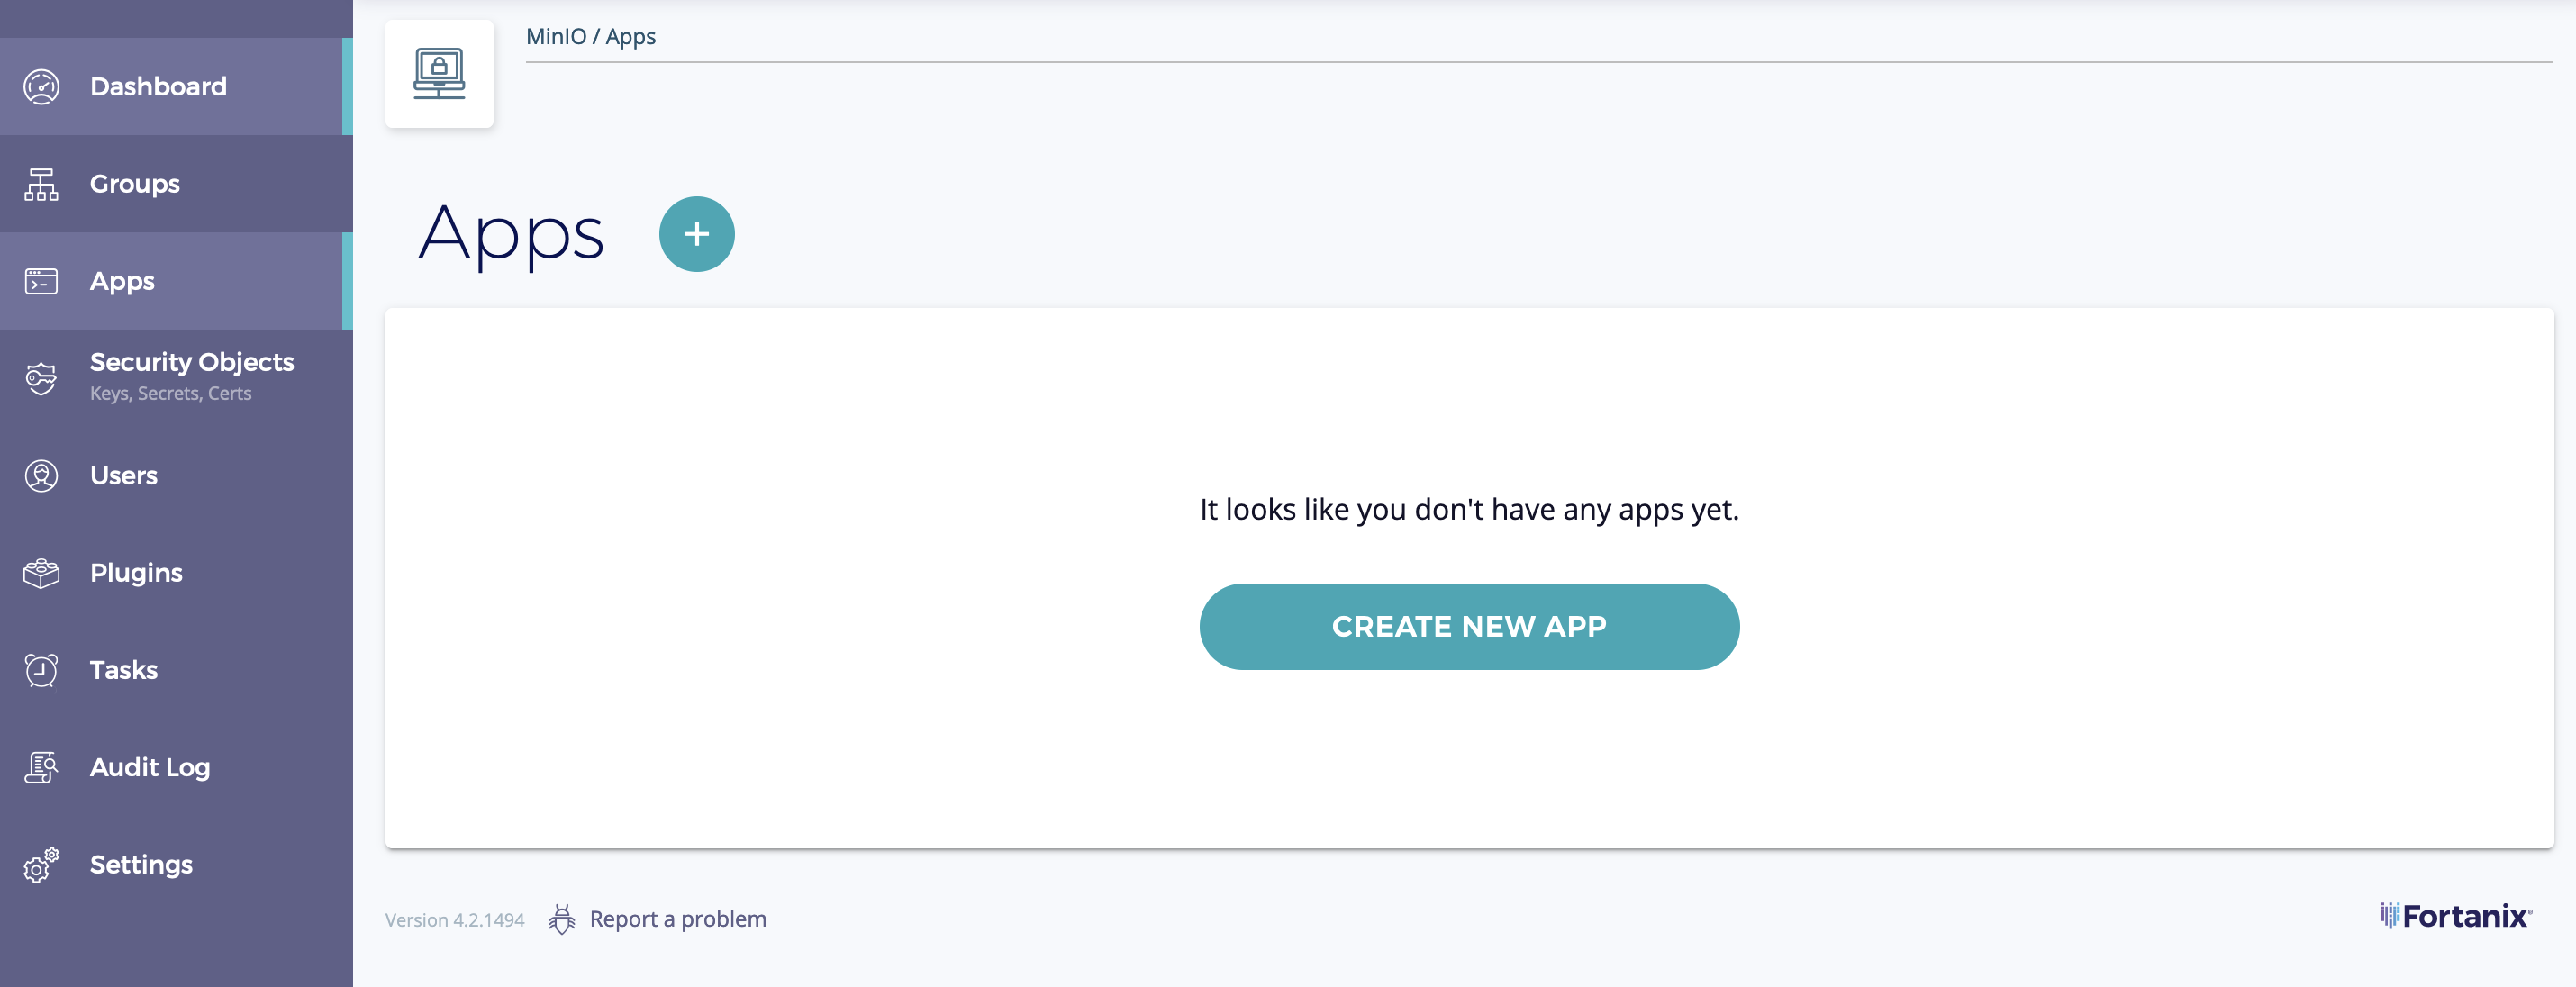
First, register a new application that can authenticate and communicate to the Fortanix SDKMS instance.
Therefore, go to the Apps section in the Fortanix SDKMS UI.
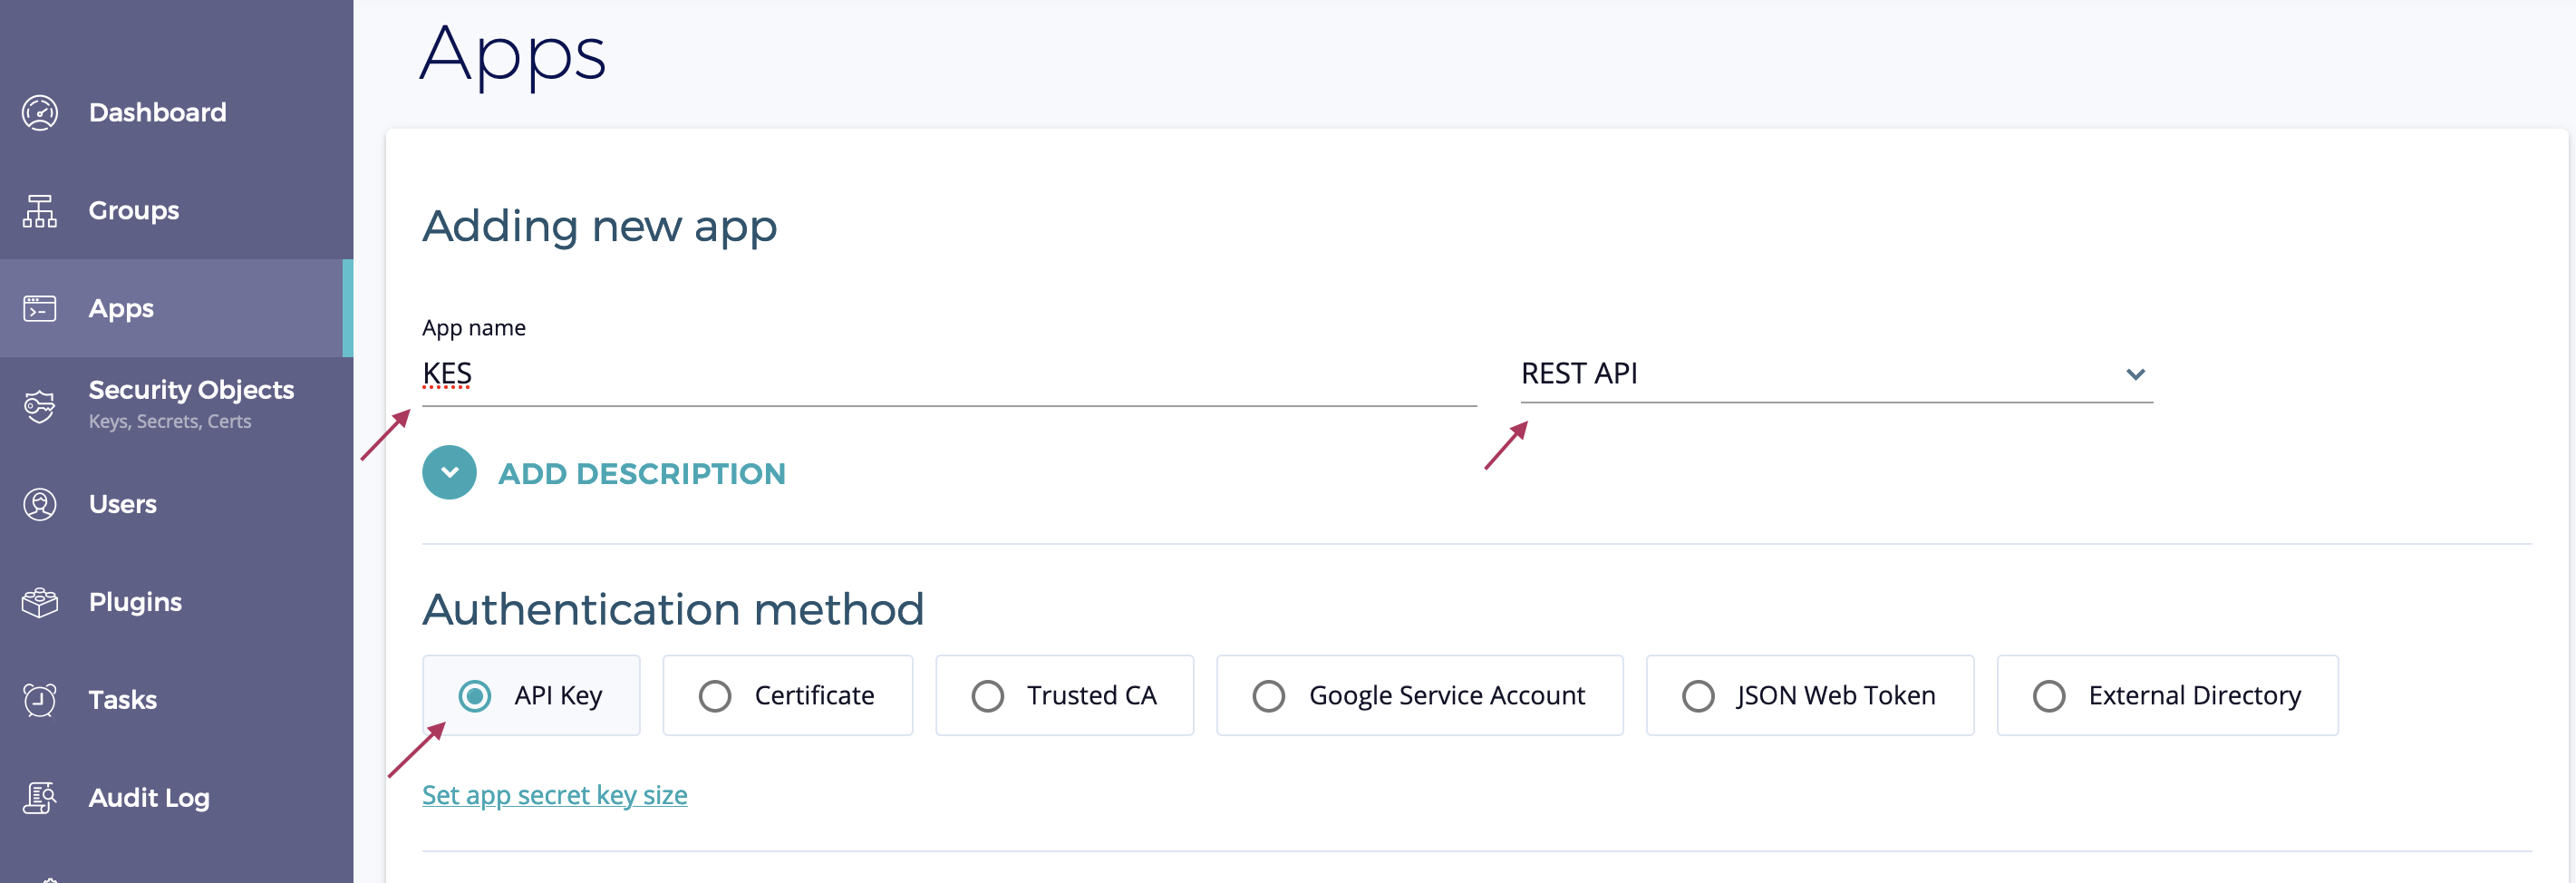
Now, give the application a descriptive name - e.g. KES, select REST as integration and choose API Key as authentication method.
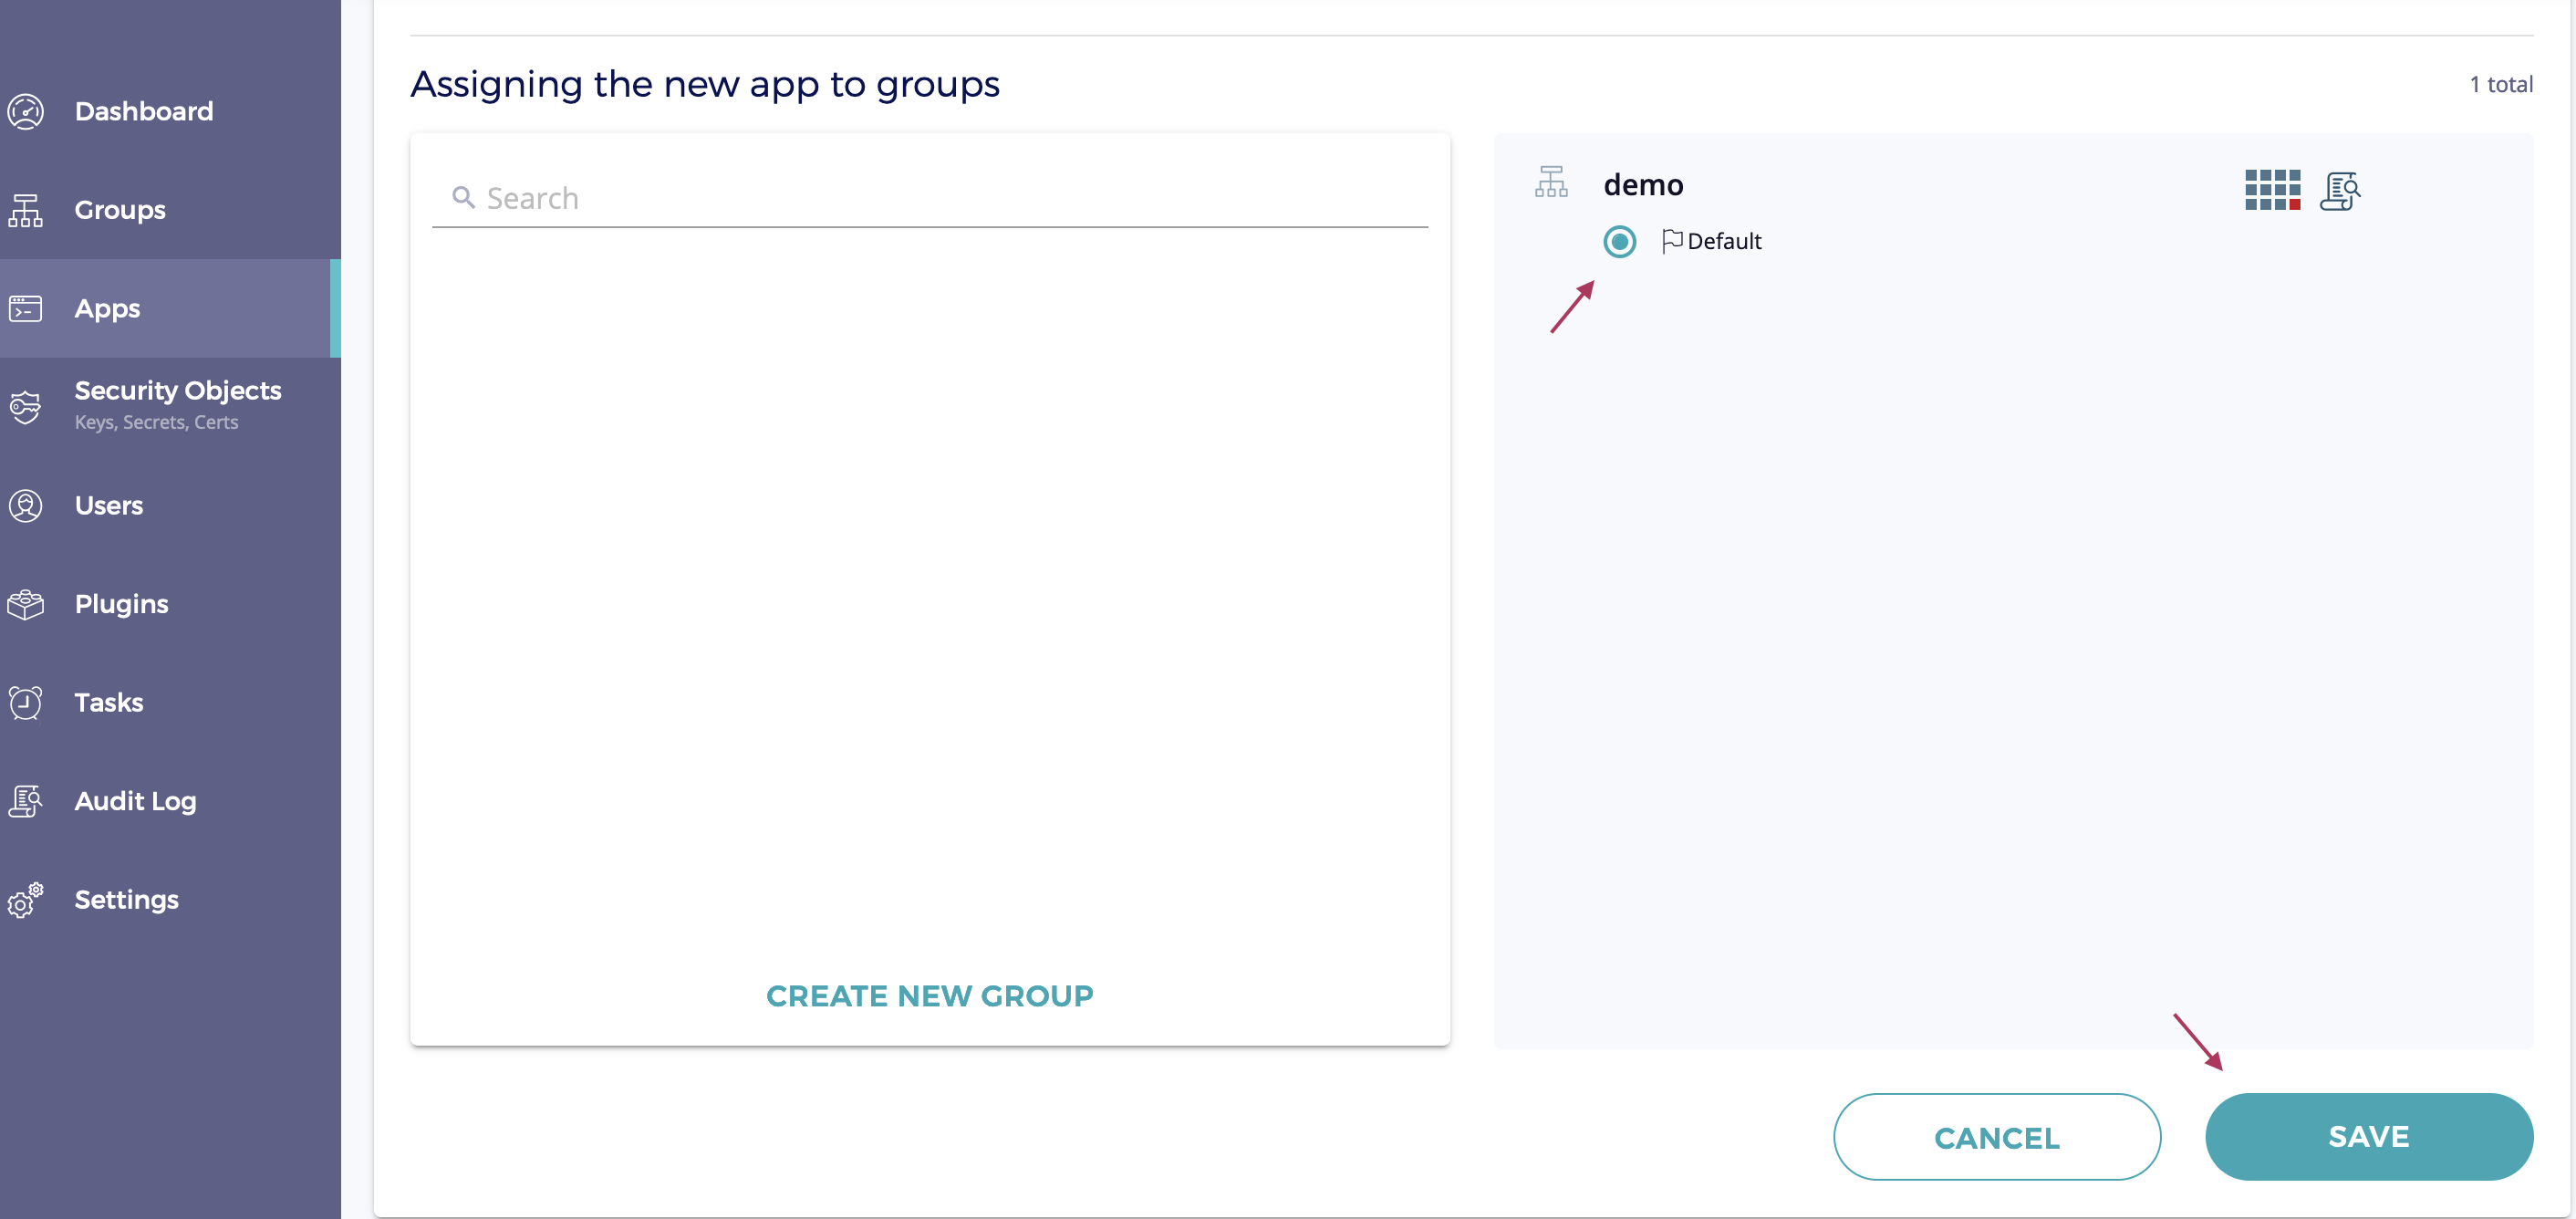
Next, assign the application a group. This group will be the default group of the application. Newly created keys will belong to this group unless an explicit group ID is specified in the KES configuration file.
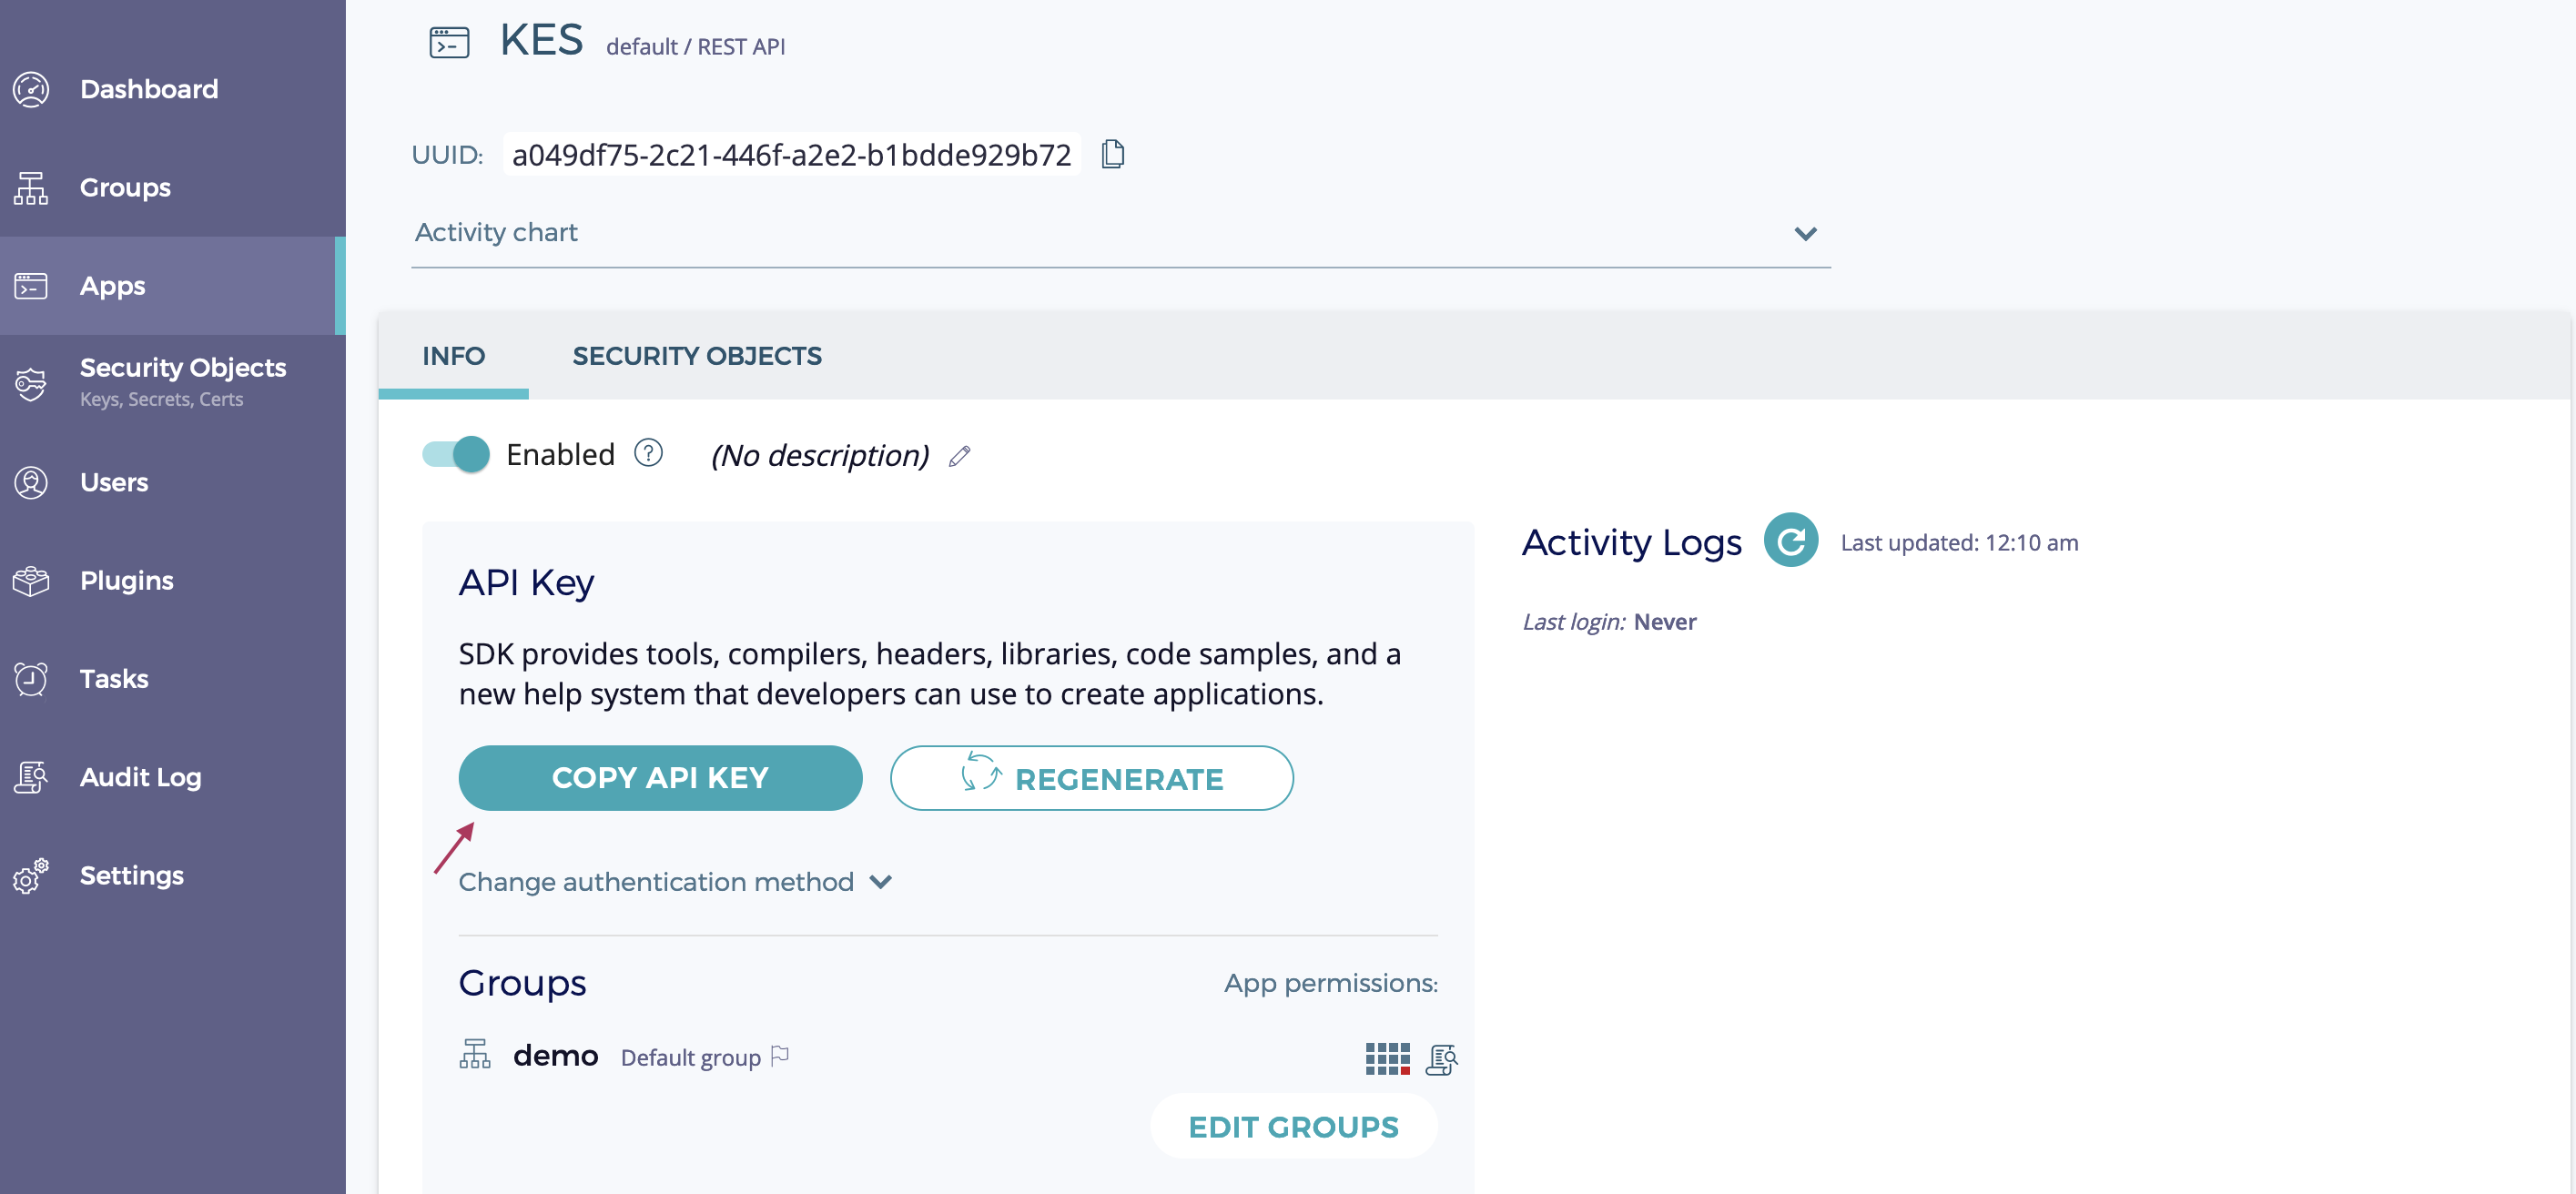
Finally, create the application and copy the applications API key. This key is the access credential to talk to Fortanix SDKMS as the application.
First, we need to generate a TLS private key and certificate for our KES server. A KES server can only be run with TLS - since secure-by-default. Here we use self-signed certificates for simplicity. For a production setup we highly recommend to use a certificate signed by CA (e.g. your internal CA or a public CA like Let's Encrypt)
The following command will generate a new TLS private key server.key and
a X.509 certificate server.cert that is self-signed and issued for the IP 127.0.0.1
and DNS name localhost (as SAN). You may want to customize the command to match your
setup.
kes tool identity new --server --key server.key --cert server.cert --ip "127.0.0.1" --dns localhostAny other tooling for X.509 certificate generation works as well. For example, you could use
openssl:$ openssl ecparam -genkey -name prime256v1 | openssl ec -out server.key $ openssl req -new -x509 -days 30 -key server.key -out server.cert \ -subj "/C=/ST=/L=/O=/CN=localhost" -addext "subjectAltName = IP:127.0.0.1"
kes tool identity new --key=app.key --cert=app.cert appYou can compute the app identity via:
kes tool identity of app.certNow, we have defined all entities in our demo setup. Let's wire everything together by creating the
config file server-config.yml:
address: 0.0.0.0:7373

admin:
  identity: disabled  # We disable the admin identity since we don't need it in this guide

tls:
  key : server.key
  cert: server.cert

policy:
  my-app:
     allow:
     - /v1/key/create/my-app*
     - /v1/key/generate/my-app*
     - /v1/key/decrypt/my-app*
    identities:
    - ${APP_IDENTITY}

 keystore:
   fortanix:
     sdkms:
       endpoint: "<your-fortanix-sdkms-endpoint>"    # Use your Fortanix instance endpoint.
       credentials:
key: "<your-api-key>" # Insert the application's API key export APP_IDENTITY=$(kes tool identity of app.cert)
kes server --config=server-config.yml --auth=off
--auth=offis required since our root.cert and app.cert certificates are self-signed
export KES_CLIENT_CERT=app.cert
export KES_CLIENT_KEY=app.key
kes key create -k my-app-key
-kis required because we use self-signed certificates
kes key derive -k my-app-key
{
   plaintext : ...
   ciphertext: ...
}
kes key decrypt -k my-app-key <base64-ciphertext>