A stupidly simple web-based terminal emulator, with common tools and Starship enabled! 🚀

- Access your terminal from any device with a web browser
- Execute commands just like in a native terminal
- Starship prompt provides a beautiful terminal experience with git status, command duration, etc.
- PIN protection (recommended) prevents unauthorized access
- Use the data directory to persist files between container restarts
- Demo mode available for testing and demonstrations - simulated terminal (set DEMO_MODE=true)
- Build with docker: To create a sandboxed environment for testing scripts, code, applications, emulate a VPS, showcase examples and more. All without having to install dependencies on your local machine!
- Build locally: To access your client's cli/terminal through your browser instead!
- Self-hosting: Put behind a reverse proxy, auth provider (like authentik, authelia, etc), Cloudflare tunnels with application access rules, etc for secure external access.
- Another alternative to web terminals such as ttyd, shellinabox, etc
- Features
- Quick Start
- Configuration
- Keyboard Shortcuts
- Security
- Technical Details
- Links
- Contributing
- Check Us Out
- Future Features
- 🖥️ Web-based terminal access from anywhere
- 🌙 Dark mode support
- 📱 Responsive design for mobile and desktop
- 🐳 Docker support (Debian-based container)
- 🔧 Pre-installed utilities: starship, nerdfonts, apt-utils, curl, wget, ssh, git, vim, nano, htop, net-tools, iputils-ping, traceroute, fontconfig, unzip, locales, python3, etc.
- 🔒 Optional PIN protection (numeric)
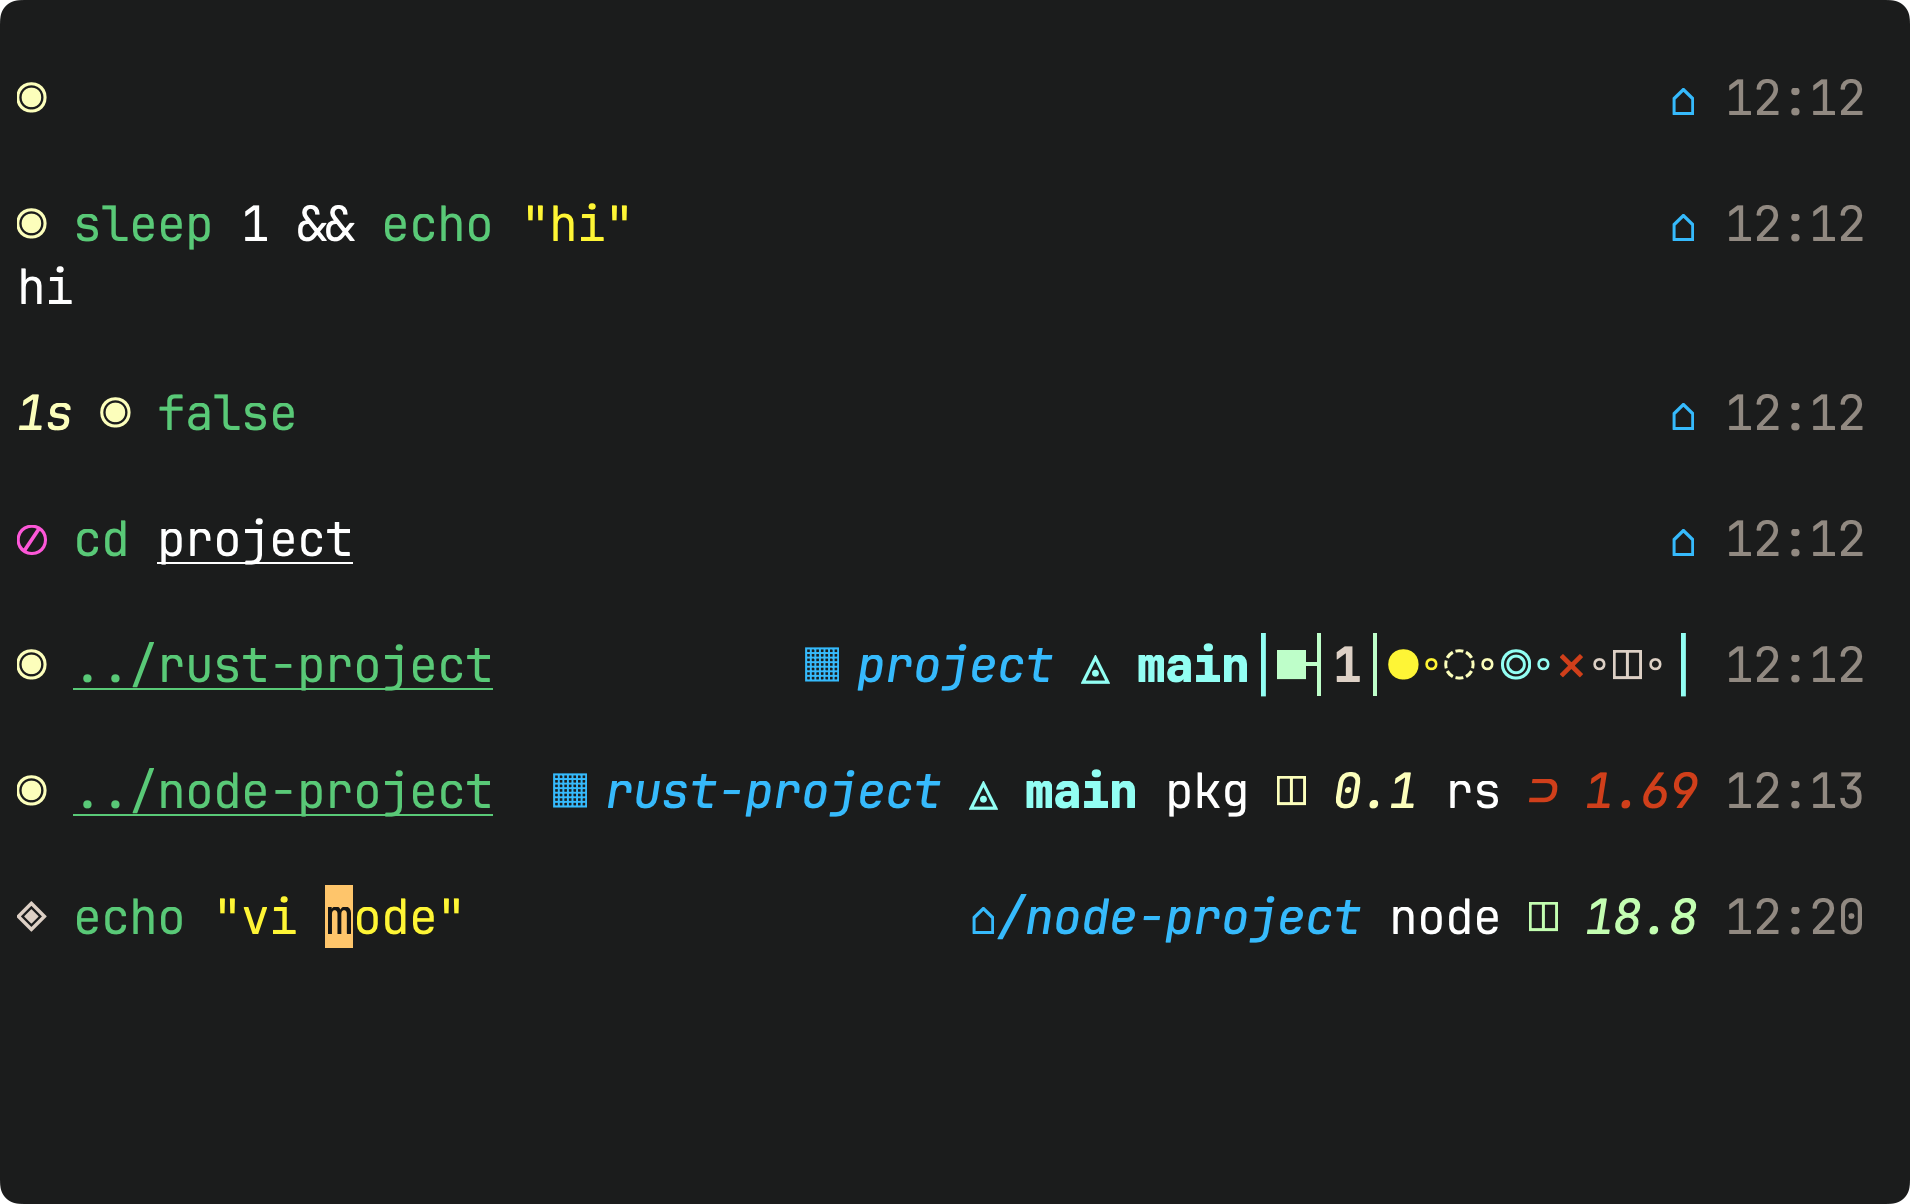
- ✨ Starship prompt integration for beautiful terminal experience
- 🔍 Terminal search functionality (
ctrl+forcmd+f) - 📂 Custom volume mappings
- 🔗 In-terminal hyperlinks
- ⌨️ Keyboard shortcuts for common actions
- 📑 Tab Management:
- Drag and drop reordering of tabs
- Double-click to rename tabs
- Direct tab selection with shortcuts
- Terminal history persistence across sessions
- 📱 PWA Support for mobile and desktop
- ⚡ XTerm.js for fast terminal rendering
- Docker (recommended)
- Node.js >=20.0.0 (for local development)
- Windows-specific: WSL or Node.js v16 - Option 3: Running Locally
- Docker method uses a pre-installed Debian 13 Trixie-based container/environment.
# Pull and run with one command
docker run -p 3000:3000 \
  -v ./data:/root/data \
  -v ./config:/root/.config \
  -e DUMBTERM_PIN=1234 \
  -e SITE_TITLE=DumbTerm \
  -e BASE_URL=http://localhost:3000 \
  -e ALLOWED_ORIGINS=http://localhost:3000 \
  -e ENABLE_STARSHIP=true \
  -e TZ=America/Los_Angeles \
  -e LOCKOUT_TIME=15 \
  -e MAX_SESSION_AGE=24 \
dumbwareio/dumbterm:latest- Go to http://localhost:3000
- Enter your PIN if configured
- Enjoy your web-based terminal!
Create a docker-compose.yml file or use the provided one:
services:
  dumbterm:
    image: dumbwareio/dumbterm:latest
    container_name: dumbterm
    restart: unless-stopped
    ports:
      - ${DUMBTERM_PORT:-3000}:3000
    volumes:
      - ${DUMBTERM_CONFIG:-./config}:/root/.config
      - ${DUMBTERM_DATA_DIR:-./data}:/root/data
    environment:
      # Container timezone
      TZ: ${DUMBTERM_TZ:-America/Los_Angeles}
      # The title shown in the web interface
      SITE_TITLE: ${DUMBTERM_SITE_TITLE:-DumbTerm}
      # Recommended PIN protection (leave empty to disable)
      DUMBTERM_PIN: ${DUMBTERM_PIN:-1234}
      # The base URL for the application
      BASE_URL: ${DUMBTERM_BASE_URL:-http://localhost:3000}
      ENABLE_STARSHIP: ${ENABLE_STARSHIP:-true}
      LOCKOUT_TIME: ${DUMBTERM_LOCKOUT_TIME:-15} # Minutes
      # Session duration in hours before requiring re-authentication
      MAX_SESSION_AGE: ${DUMBTERM_MAX_SESSION_AGE:-24} # Hours
      # (OPTIONAL) - List of allowed origins for CORS
      # ALLOWED_ORIGINS: ${DUMBTERM_ALLOWED_ORIGINS:-http://localhost:3000}
Then run:
docker compose up -d- Local method will use your local terminal environment (Windows: Powershell, Mac / Linux: bash).
- Install dependencies:
npm installTip
- If you encounter issues with
node-ptyyou can try using Windows Subsystem for Linux (WSL) or may need to install: Node.js v16(Look into nvm for windows for multi node version support):winget install CoreyButler.NVMforWindows- with nvm installed use:
nvm install 16 && nvm use 16
windows-build-toolsthrough Visual Studio InstallerMSVC v142 - VS 2019 C++ {arch} Build Tools- Contact us or View the official Microsoft documentation for more details
cp .env.example .env> Set environment variables in.env:
PORT=3000                  # Port to run the server on
DUMBTERM_PIN=1234          # Optional PIN protection
SITE_TITLE=DumbTerm        # Custom site title
BASE_URL=http://localhost:3000 # Base URL for the application- Start the server:
npm start| Variable | Description | Default | Required |
|---|---|---|---|
| PORT | Server port | 3000 | No |
| BASE_URL | Base URL for the application | http://localhost:PORT | No |
| DUMBTERM_PIN | PIN protection (numeric) | None | No |
| SITE_TITLE | Site title displayed in header | DumbTerm | No |
| TZ | Container timezone | America/Los_Angeles | No |
| ENABLE_STARSHIP | Enable Starship prompt (docker only) | true | No |
| NODE_ENV | Node environment mode (development or production) | production | No |
| ALLOWED_ORIGINS | Allowed CORS origins (comma-separated list) | * (all origins) | No |
| DEBUG | Enable debug logging | FALSE | No |
| LOCKOUT_TIME | Custom Pin Lockout Time (in minutes) | 15 | No |
| MAX_SESSION_AGE | Duration of authenticated session (in hours) | 24 | No |
| DEMO_MODE | Enable demo mode with simulated terminal | false | No |
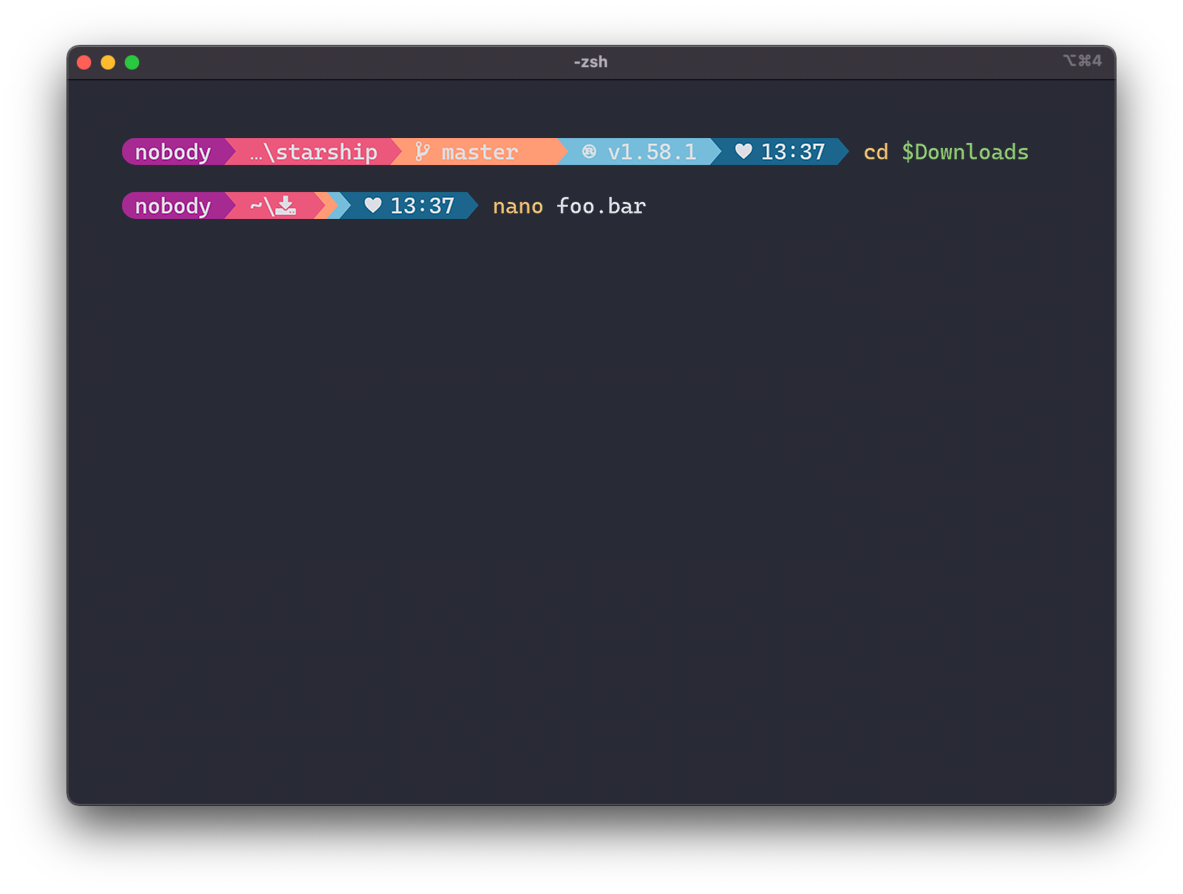
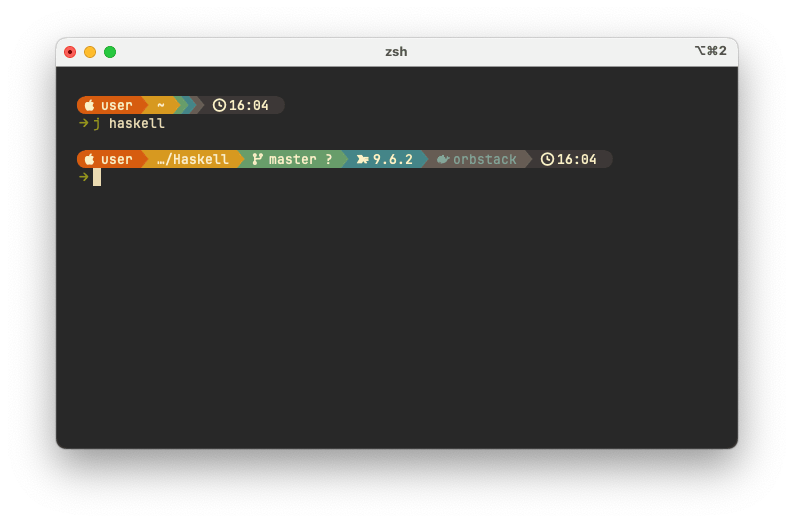
- Starship is a cross-shell prompt that provides a beautiful terminal experience.
- It is enabled by default in the Docker image and is the recommended method.
- To disable it, set
ENABLE_STARSHIPtofalsein your environment variables. - You can customize the Starship prompt by using one of the following steps:
Tip
copy and paste one of the starship preset commands below into DumbTerm and that's it!
Example Preset Command:

[!WARNING] > Note: If running locally or mapped volume to your actual
starship.tomlconfig, the preset commands will overwrite your existingstarship.tomlfile. Make sure to back it up as needed.
View All Starship Presets:
| Preset Name | Command | Preview |
|---|---|---|
| Nerd Font Symbols | starship preset nerd-font-symbols -o ~/.config/starship.toml |
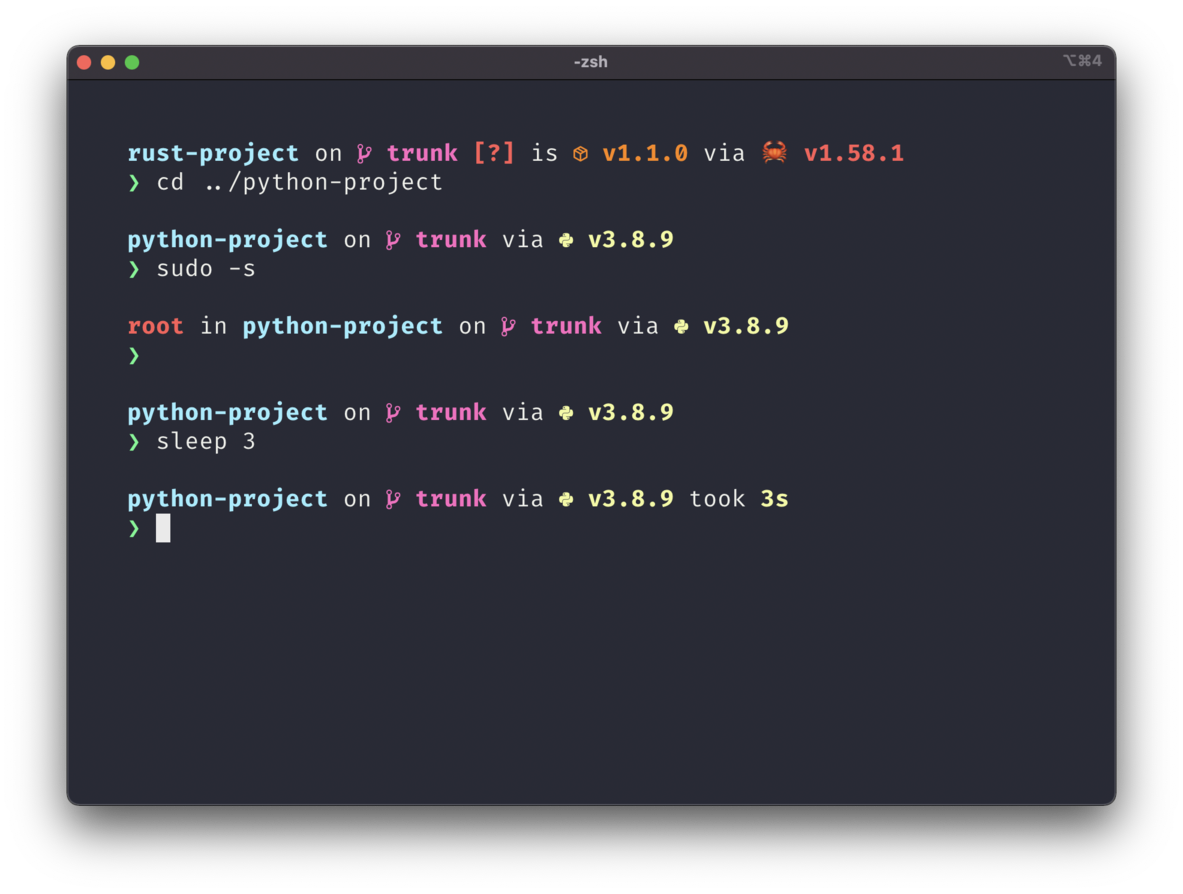 |
| Bracketed Segments | starship preset bracketed-segments -o ~/.config/starship.toml |
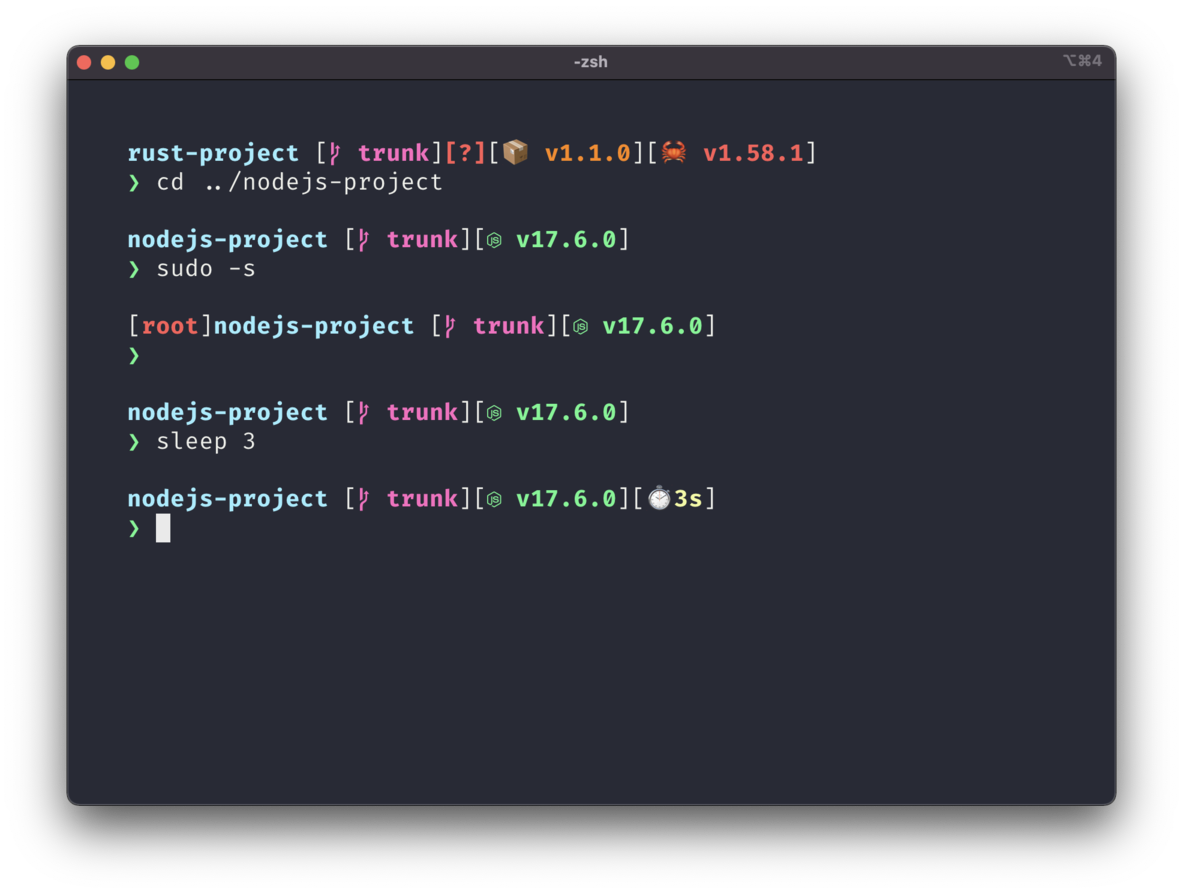 |
| Plain Text Symbols | starship preset plain-text-symbols -o ~/.config/starship.toml |
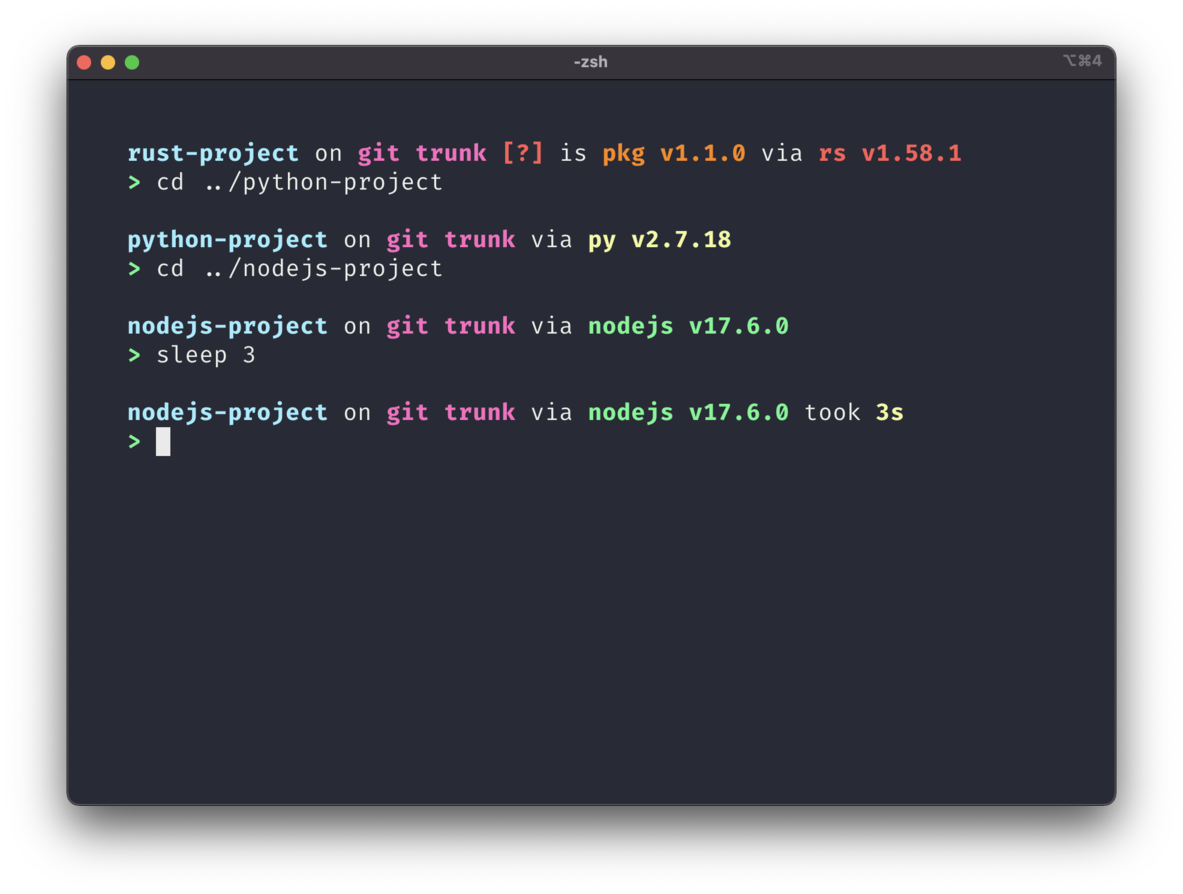 |
| No Runtime Versions | starship preset no-runtime-versions -o ~/.config/starship.toml |
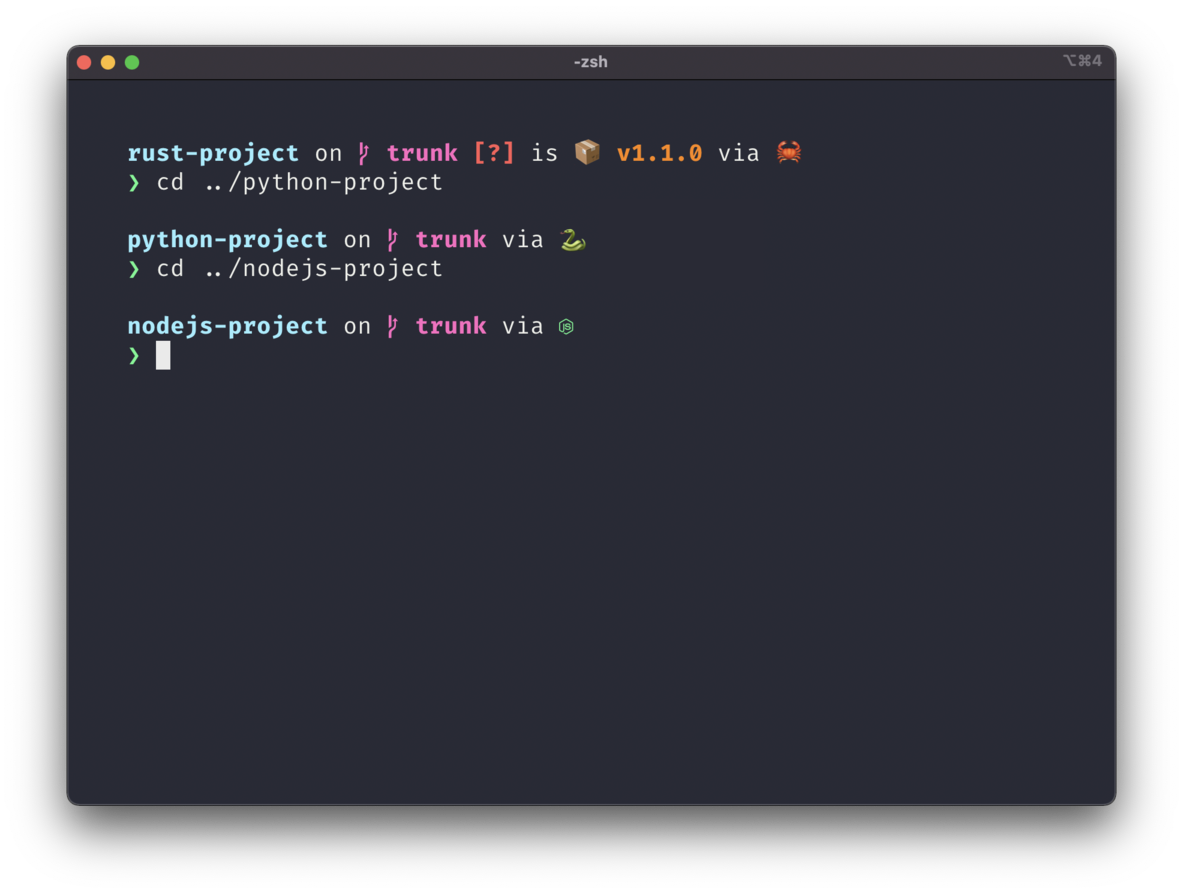 |
| No Empty Icons | starship preset no-empty-icons -o ~/.config/starship.toml |
|
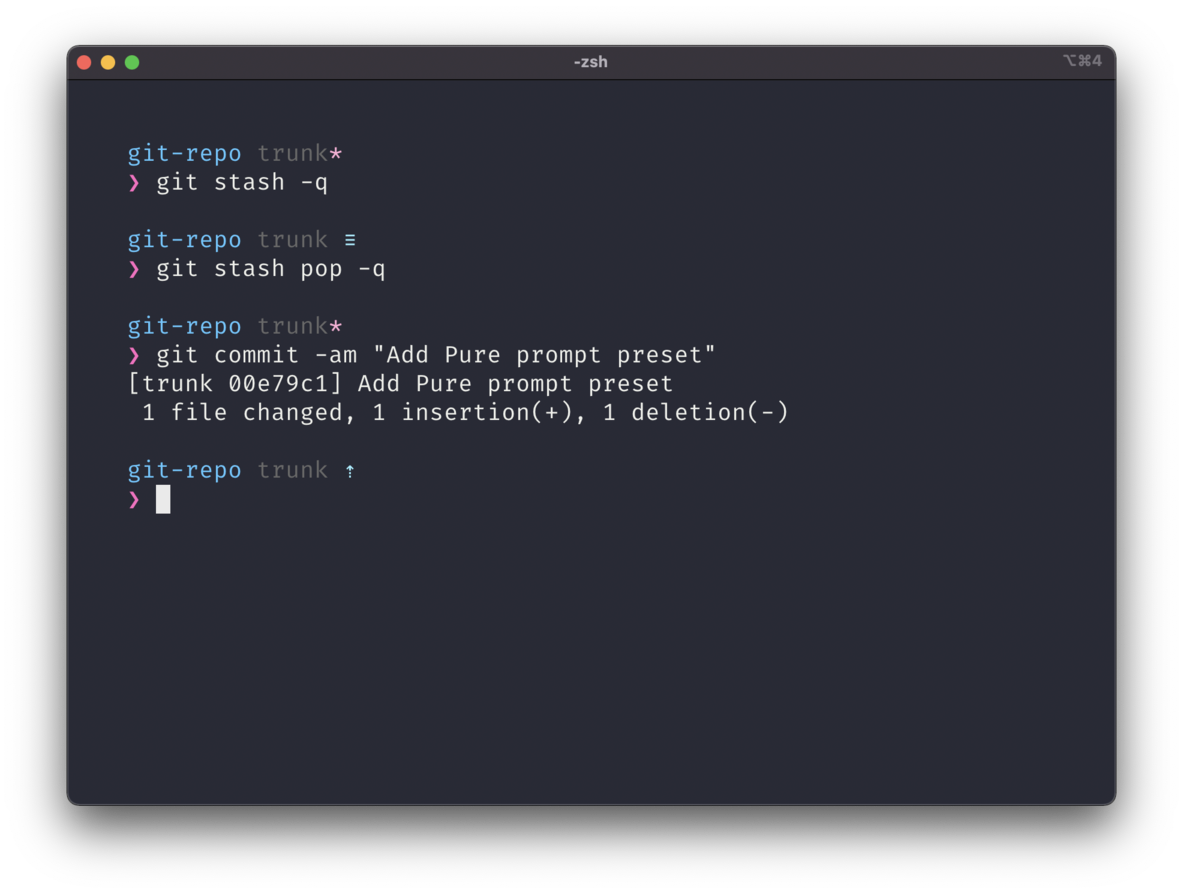
| Pure Prompt | starship preset pure-preset -o ~/.config/starship.toml |
 |
| Pastel Powerline | starship preset pastel-powerline -o ~/.config/starship.toml |
 |
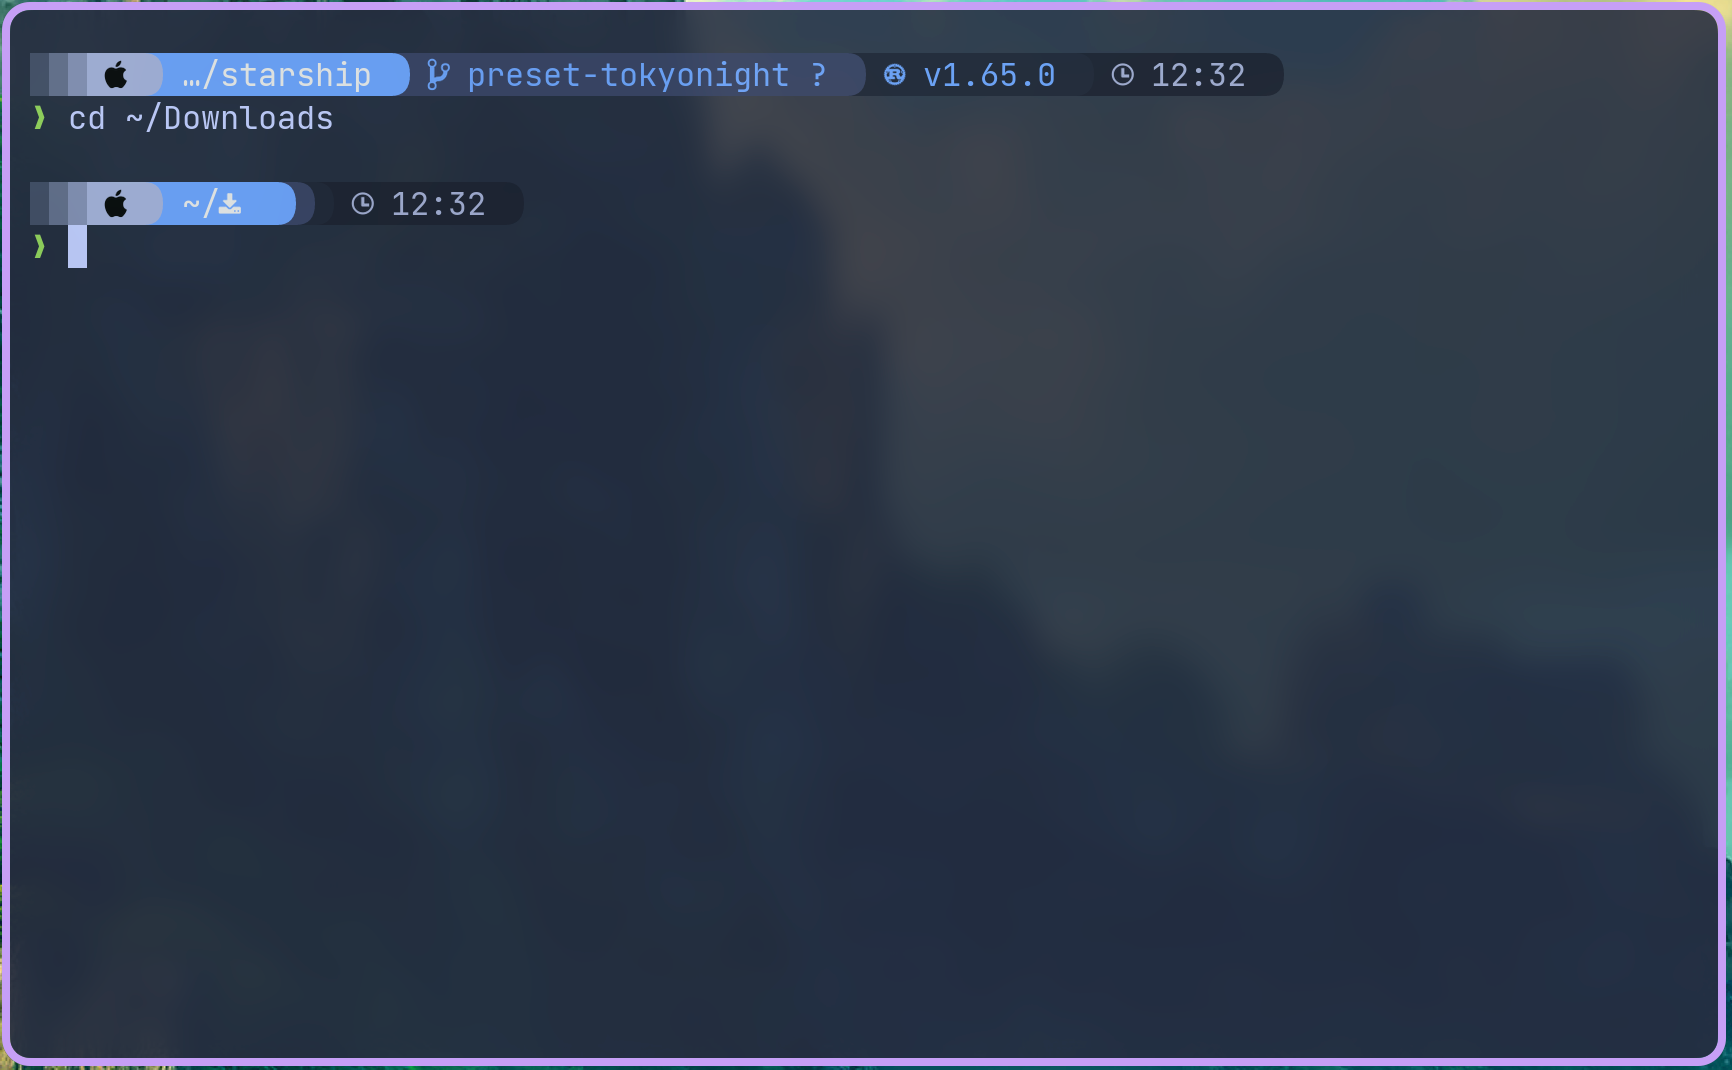
Tokyo Night (DumbTerm Default with mods) |
starship preset tokyo-night -o ~/.config/starship.toml |
 |
| Gruvbox Rainbow | starship preset gruvbox-rainbow -o ~/.config/starship.toml |
 |
| Jetpack | starship preset jetpack -o ~/.config/starship.toml |
 |
| No Nerd Fonts | starship preset no-nerd-font -o ~/.config/starship.toml |
n/a |
- You can also view the available presets by running
starship preset -lin DumbTerm.
For more details, visit the Starship Presets page.
- The default configuration is located in
/root/.config/starship.toml. - You can also mount a custom
starship.tomlfile to the container using Docker volumes. - Update or add your custom configurations to starship.toml.
- Visit Starship Configuration for more information on customizing the prompt.
- If you are running DumbTerm locally, DumbTerm will inherit your current styles.
- Meaning if you already have starship enabled locally, you should be able to see your current styles accordingly.
- You must install Starship on your local machine if you wish to use DumbTerm with starship locally.
- To install Starship, follow the instructions on the Starship installation page.
DumbTerm provides a comprehensive set of keyboard shortcuts for efficient terminal management. The modifier keys vary by operating system:
- Windows/Linux:
Ctrl+Alt+{key} - macOS:
Ctrl+Cmd+{key}
| Action | Windows/Linux | macOS |
|---|---|---|
| New Terminal | Ctrl+Alt+T |
Ctrl+Cmd+T |
| Close Terminal | Ctrl+Alt+W |
Ctrl+Cmd+W |
| Rename Terminal | Ctrl+Alt+R |
Ctrl+Cmd+R |
| Search in Terminal | Ctrl+F |
Cmd+F |
| Next Terminal | Ctrl+Alt+> or Ctrl+Alt+. |
Ctrl+Cmd+> or Ctrl+Cmd+. |
| Previous Terminal | Ctrl+Alt+< or Ctrl+Alt+, |
Ctrl+Cmd+< or Ctrl+Cmd+, |
| Switch to Terminal 1-9 | Ctrl+Alt+[1-9] |
Ctrl+Cmd+[1-9] |
- Press
Ctrl+F(Windows/Linux) orCmd+F(macOS) to open the search bar - Use Up/Down arrow buttons or Enter/Shift+Enter to cycle through matches
- Press Escape or the close button to exit search mode
- Drag and Drop: Click and drag tabs to reorder them
- Rename: Double-click a tab or use the keyboard shortcut to rename it
- History: Terminal content is automatically preserved across browser refreshes and restarts
- Direct Selection: Use number shortcuts (1-9) to quickly switch between the first 9 terminals
It is highly recommended to set a strong PIN, use HTTPS, use ALLOWED_ORIGINS, and integrate with an auth provider (i.e. Authentik / Authelia / tinyauth, etc).
We're dumb, but not stupid. Use a full-featured auth provider for production use.
- https://github.com/goauthentik/authentik (More difficult to set up, but production ready)
- https://github.com/authelia/authelia
- https://github.com/steveiliop56/tinyauth (Easy with docker compose integration)
- Variable-length PIN support (numeric)
- Constant-time PIN comparison
- Brute force protection:
- 5 attempts maximum
- 15-minute lockout after failed attempts
- IP-based tracking
- Secure cookie handling
- Session-based authentication
- CORS support for origin restrictions (optional)
- HTTPS support (when configured with proper BASE_URL)
- Backend: Node.js (>=20.0.0) with Express
- Frontend: XTerm.js for terminal emulation
- Container: Docker with Debian Trixie (as of v1.2.1+) base (v1.1.1 for Bullseye)
- Terminal: node-pty for process spawning
- Communication: WebSockets for real-time terminal I/O
- Security: cors for cross-origin requests
- express: Web framework
- node-pty: Terminal process spawning
- xterm: Terminal frontend
- ws: WebSocket server
- cookie-parser: Cookie handling
- express-session: Session management
- cors: security for cross-origin requests
DumbTerm includes the following XTerm.js addons to enhance your terminal experience:
| Addon | Description |
|---|---|
| @xterm/addon-attach | Attaches a terminal session to a websocket |
| @xterm/addon-canvas | Renderer that uses canvas to draw terminal content (used as fallback after webgl) |
| @xterm/addon-clipboard | Clipboard integration for copy/paste support |
| @xterm/addon-fit | Automatically resize terminal to fit its container |
| @xterm/addon-image | Display images inline in the terminal |
| @xterm/addon-ligatures | Font ligatures support |
| @xterm/addon-search | Search text in the terminal buffer |
| @xterm/addon-serialize | Serialize terminal output to string or HTML |
| @xterm/addon-unicode11 | Additional Unicode 11 character width support |
| @xterm/addon-web-links | Automatically hyperlink URLs in terminal |
| @xterm/addon-webgl | Renderer that uses WebGL for better performance (default render method) |
- GitHub: github.com/dumbwareio/dumbterm
- Docker Hub: hub.docker.com/r/dumbwareio/dumbterm
- Fork the repository
- Create your feature branch (
git checkout -b feature/amazing-feature) - Commit your changes using conventional commits
- Push to the branch (
git push origin feature/amazing-feature) - Open a Pull Request
See Development Guide for local setup and guidelines.
Made with ❤️ by DumbWareio & gitmotion
- Website: dumbware.io
- Join the Chaos: Discord 💬

- Additional authentication methods
Got an idea? Open an issue or submit a PR