This tutorial shows you how to integrate the AWS SQS service with ClickSend API using AWS Lambda. For troubleshooting purposes please contact our support team.
There are three main components used when sending an SMS using the ClickSend API.
-
The event producer which will create and send the events to AWS SQS.
-
AWS SQS which will deliver the events produced by the producer to the Lambda event listener.
-
AWS Lambda which will be triggered by SQS events and send SMS over ClickSend API.
To get started you will need:
-
A ClickSend account - Sign-Up
-
An AWS account - Sign-Up
-
A GitHub account - Sign-Up
-
GitHub CLI installed on your PC - GitHub-CLI
-
AWS CLI installed on your PC - AWS-CLI
-
NodeJs installed on your PC - NodeJS
After you have fulfilled the above prerequisites, follow these steps to install the dependencies and run the program:
-
Open your command line / shell
-
Install GitHub-CLI using your terminal or cmd.
-
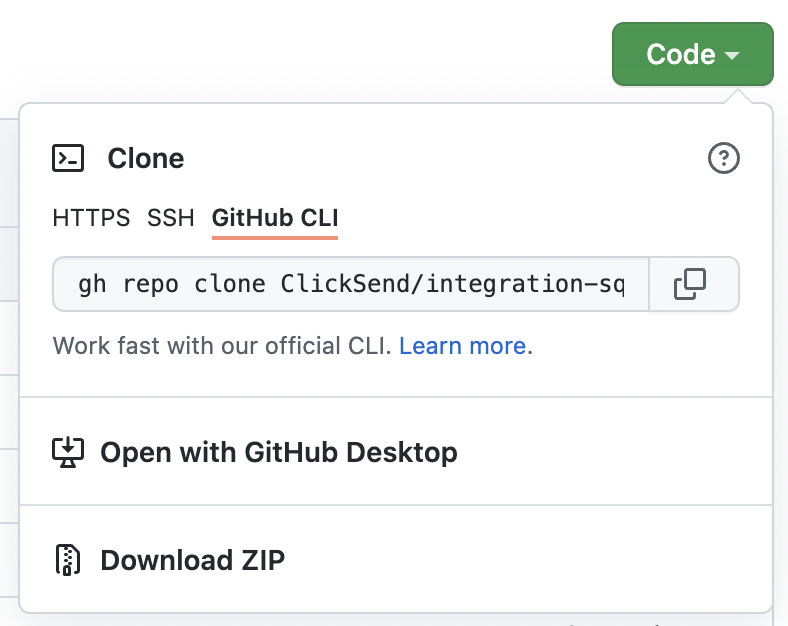
Clone the GitHub repo by following this SQS-repo link or download the zip file.
-
Browse to the producer nodejs folder from your command line / shell.
-
Install project dependencies.
npm install
For example, on Window’s cmd:

-
There are two ways to obtain the credentials and permissions depending on whether you are working under an organisation or are the AWS administrator.
Ask your AWS administrator for your credentials:
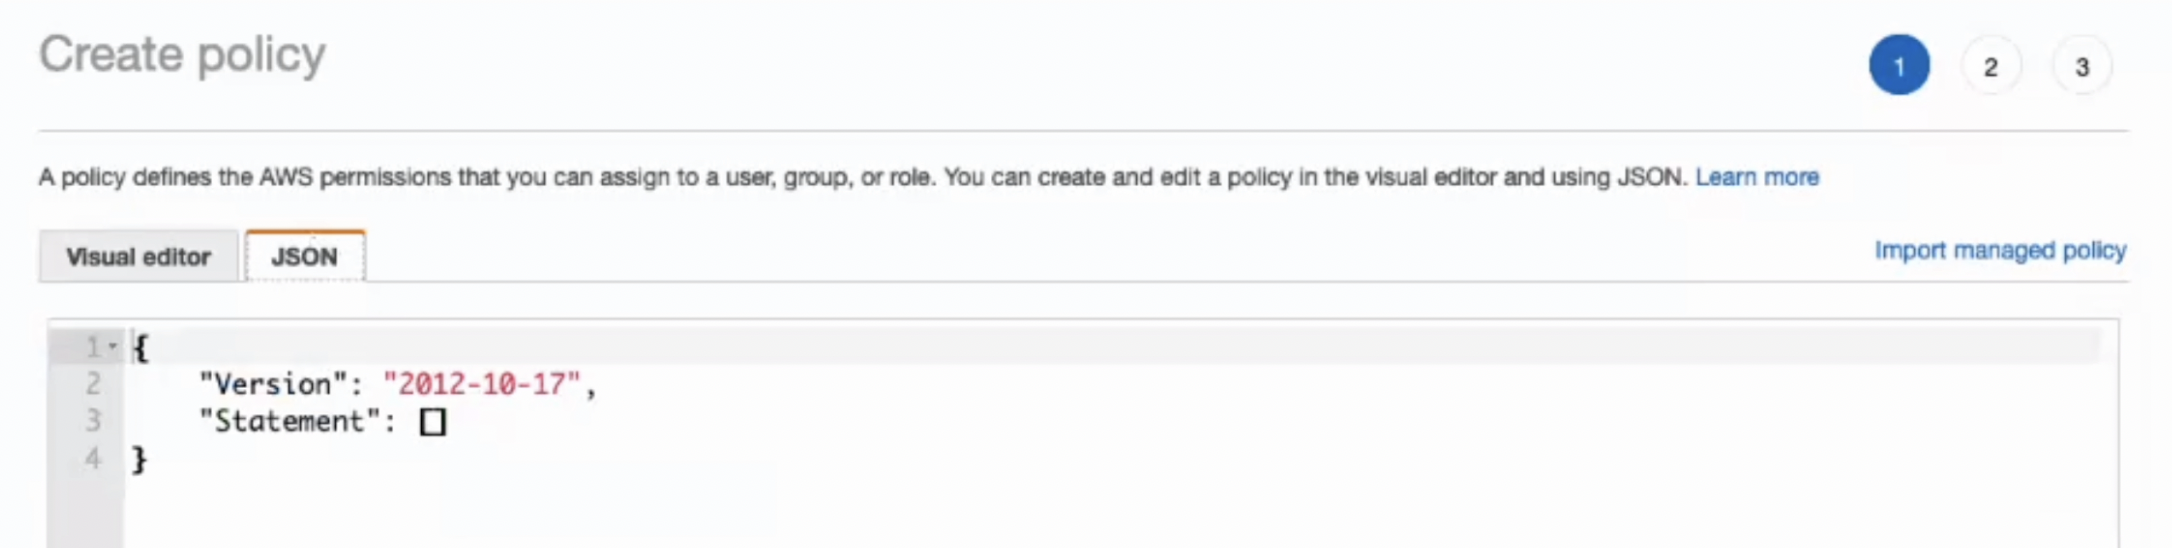
Your AWS administrator will also need to grant you the permissions attached in the policy.json file under the nodejs folder, by creating a new policy.
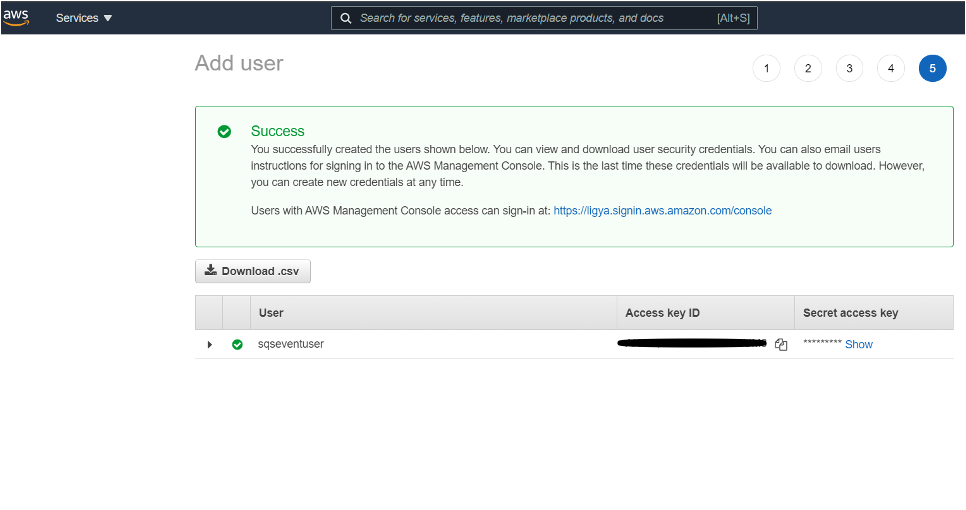
If you are the administrator or you have created a new AWS account, copy your credentials from the security credentials:
-
Configure your AWS CLI by setting up the .AWS folder directory and creating credential (obtained from above) and config (your region) files under this directory. Make sure these files do not have any extensions. Follow these links for more instructions:
a. cli-config-files
b. config-file-location
For example:
-
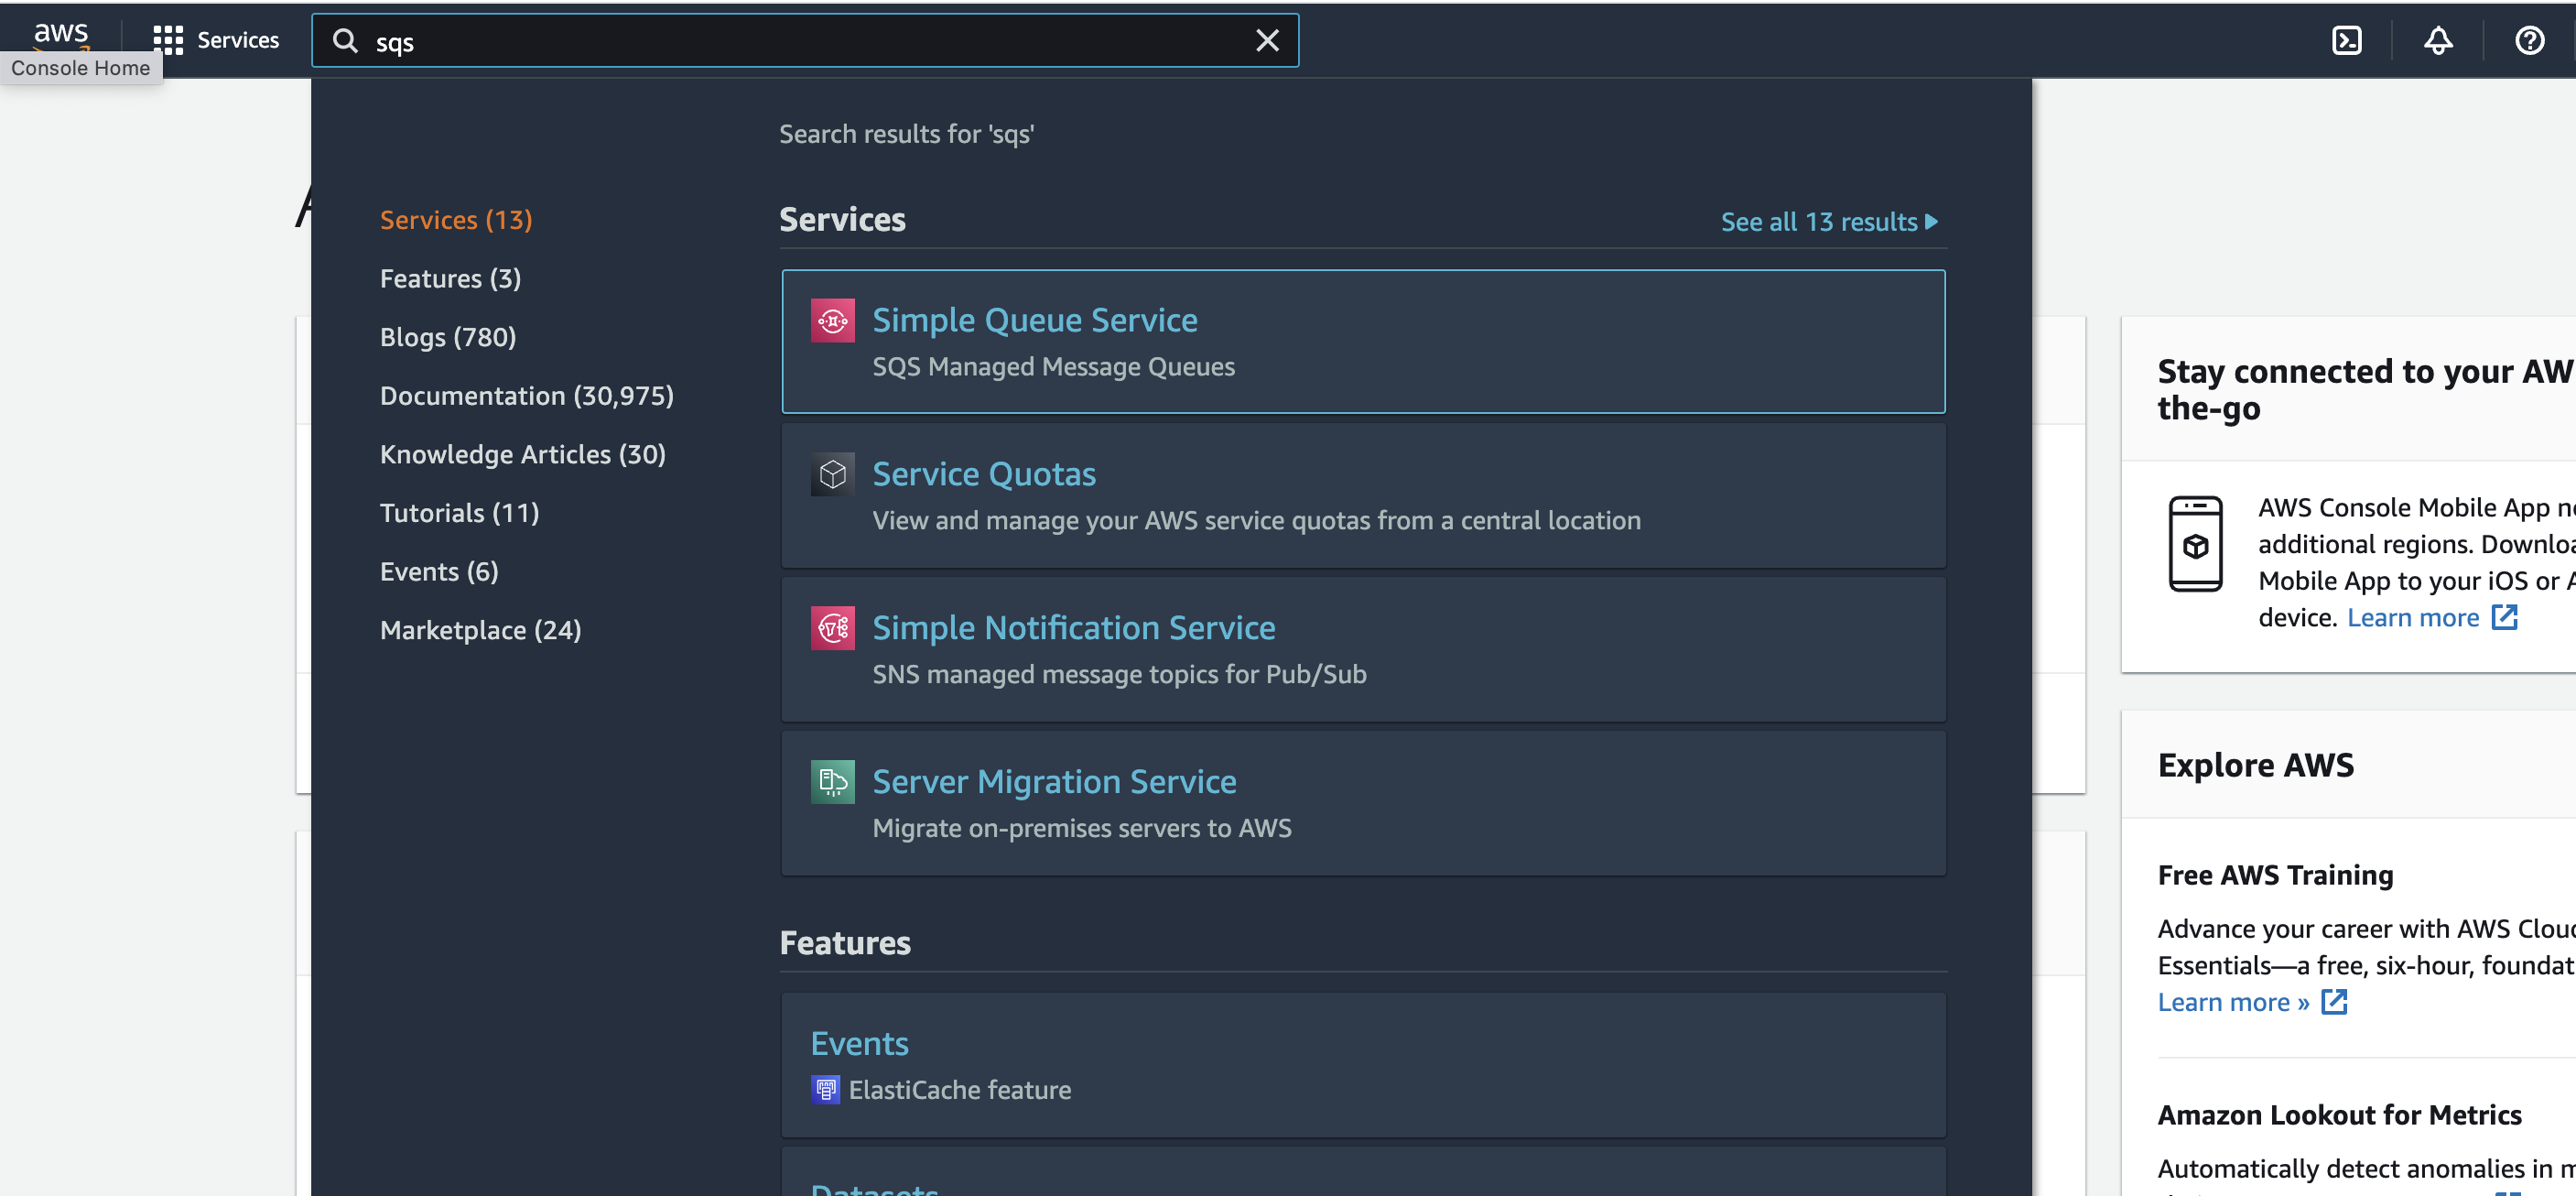
To setup your AWS-SQS, go to your AWS console and search for “SQS” and select the first option:
-
Click on “Create queue”:

-
Select a name for the queue that’s relevant to you. There's no need to change any settings/configuration/access policies; the default settings are enough.
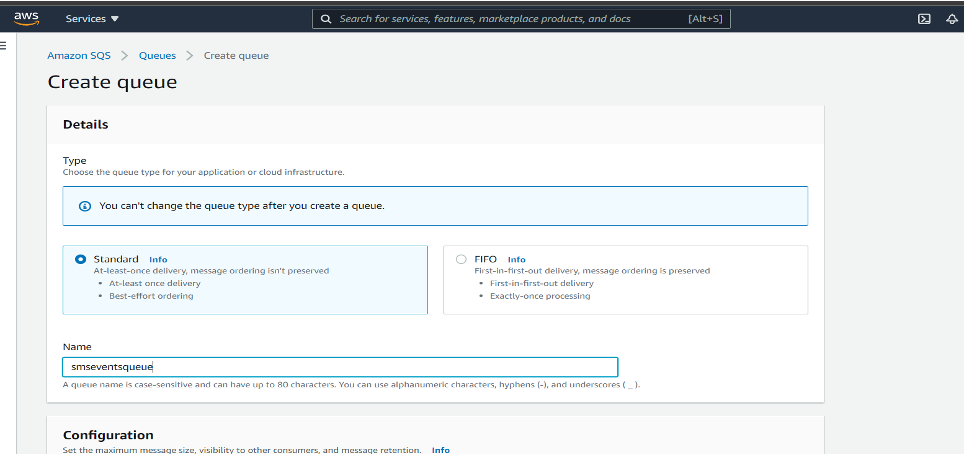
-
After selecting the name, press the create queue button.
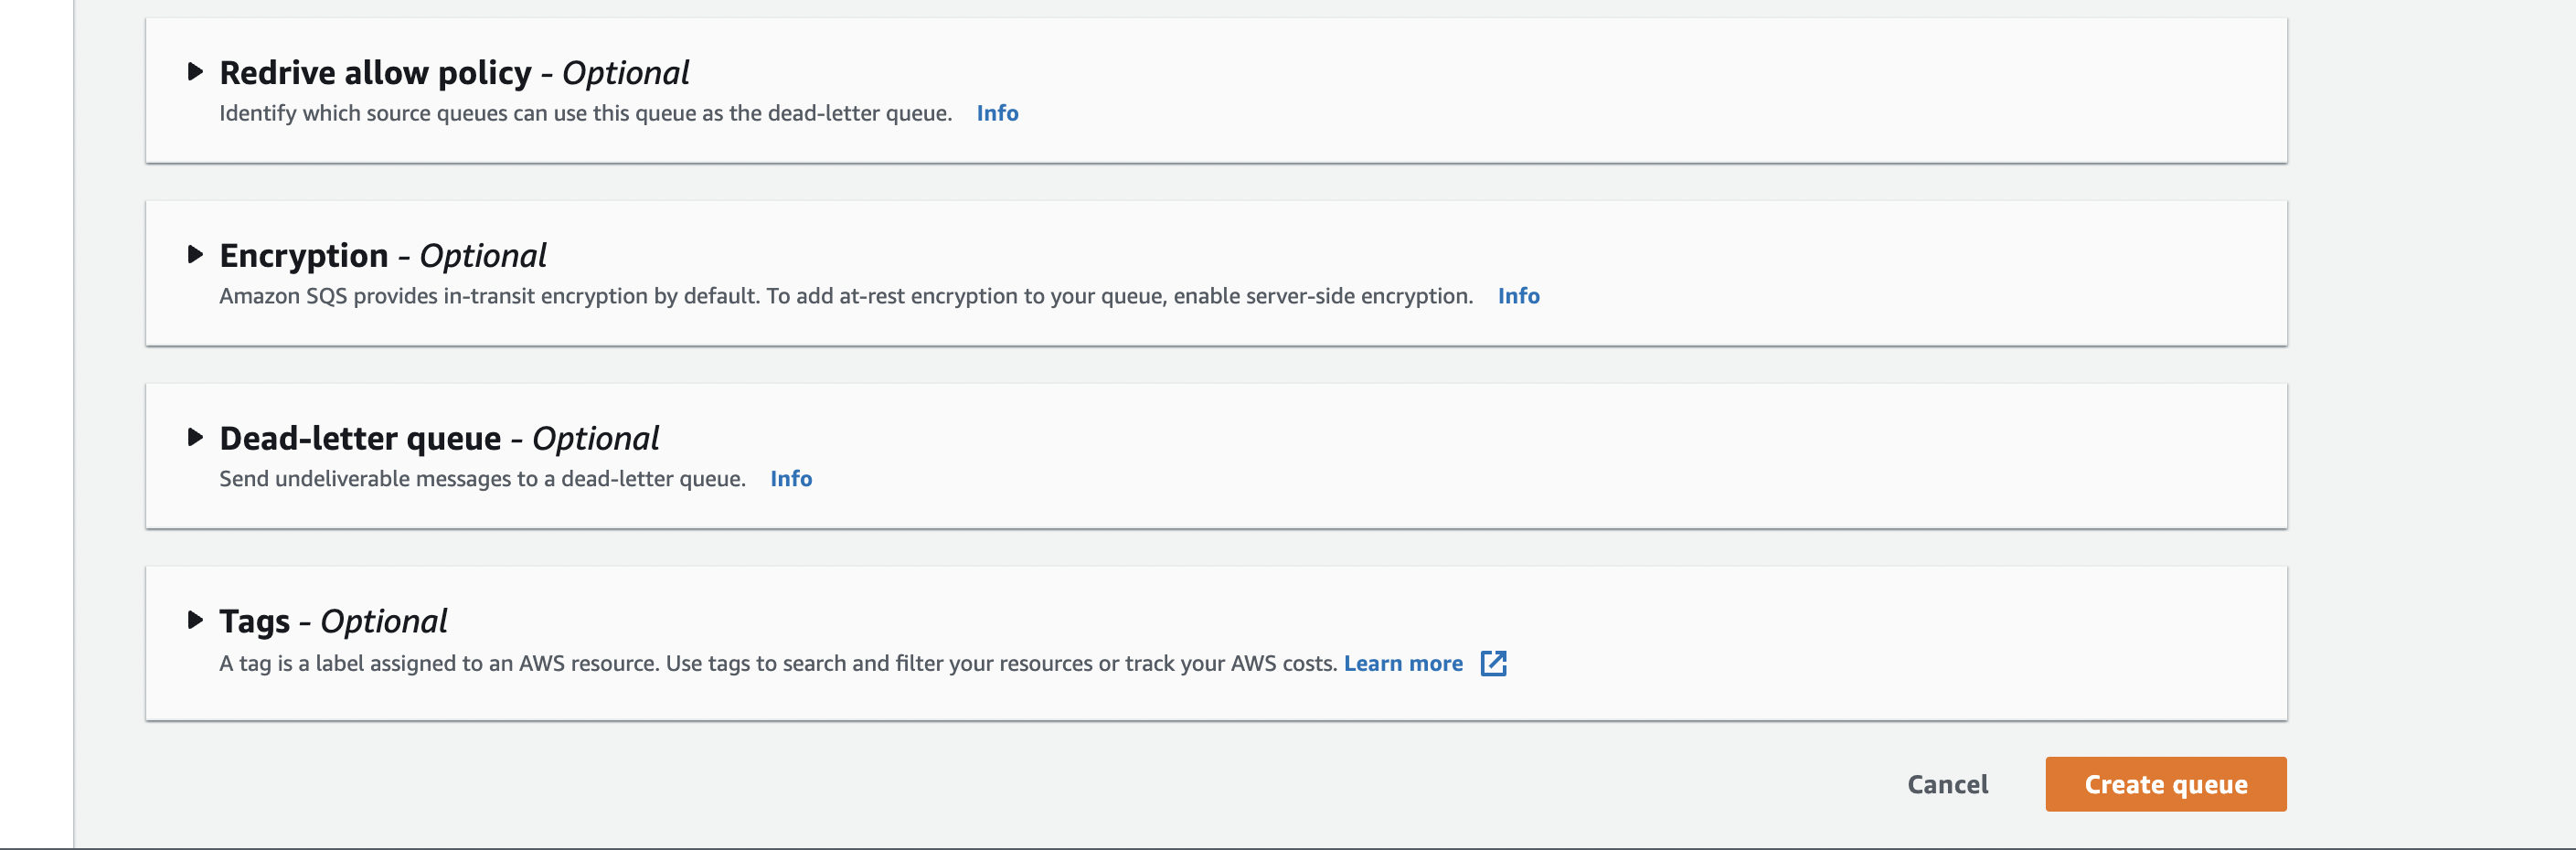
-
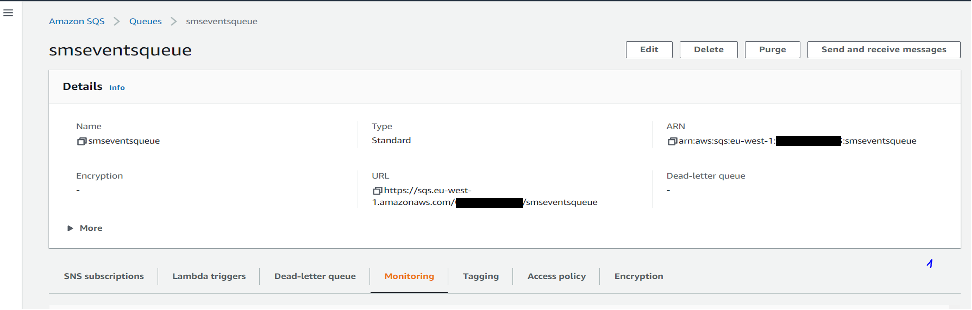
After creating the queue, a window with the following message should appear on your screen. Copy the queue URL.

-
Open the producer java folder as a Maven project from any IDE. For example, on visual studio code:
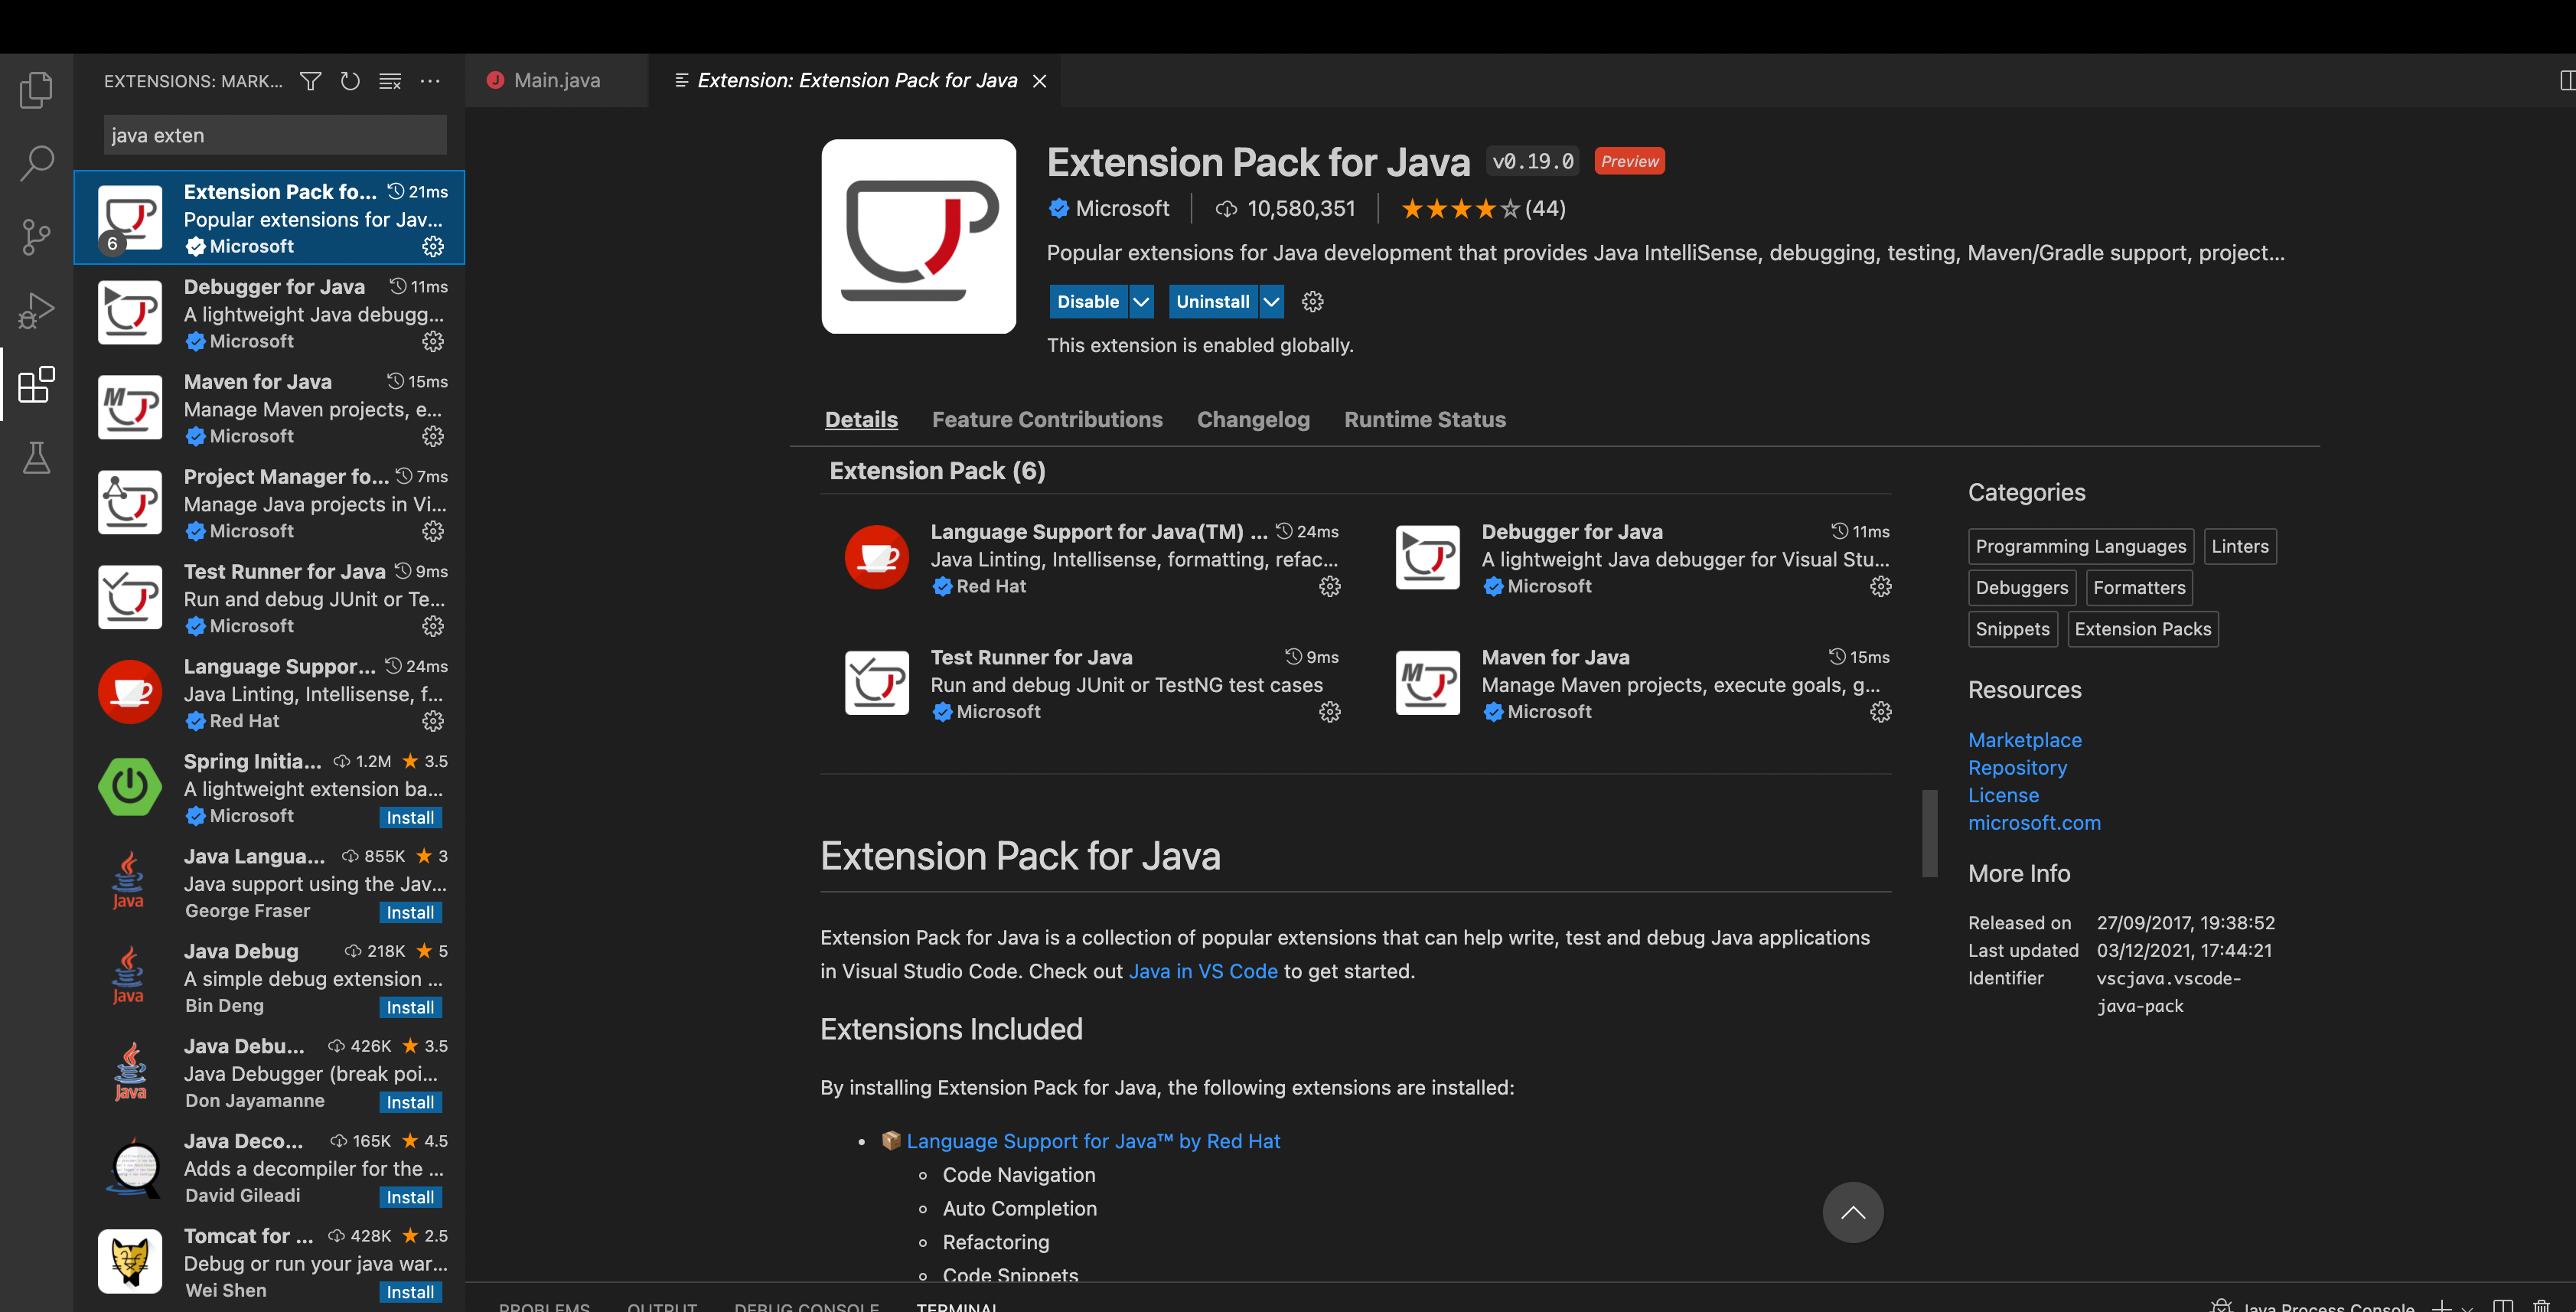
a. If you do not have Maven installed on your IDE, you should first install it from your IDE’s extension page. For example, on visual studio code:
b. Or download and install from: Apache-Maven
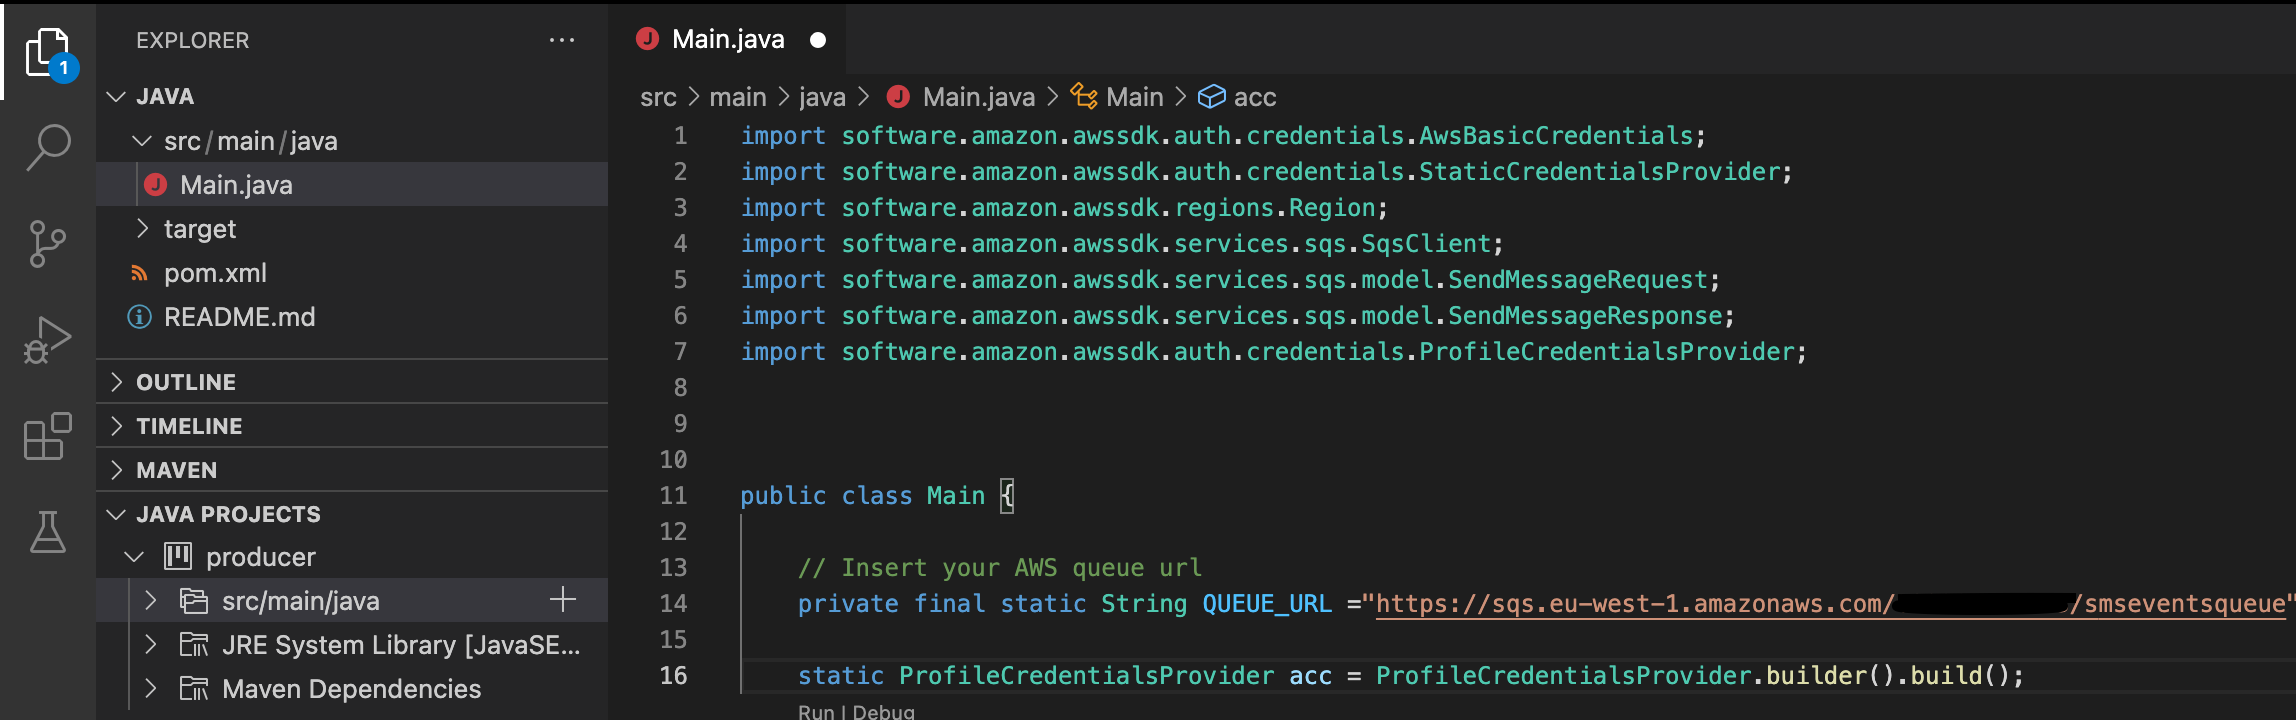
Replace the AWS SQS queue URL in the main.java file with the created queue URL:

Insert your region and change the from, to, and message content. Check the comments in the file for more details:
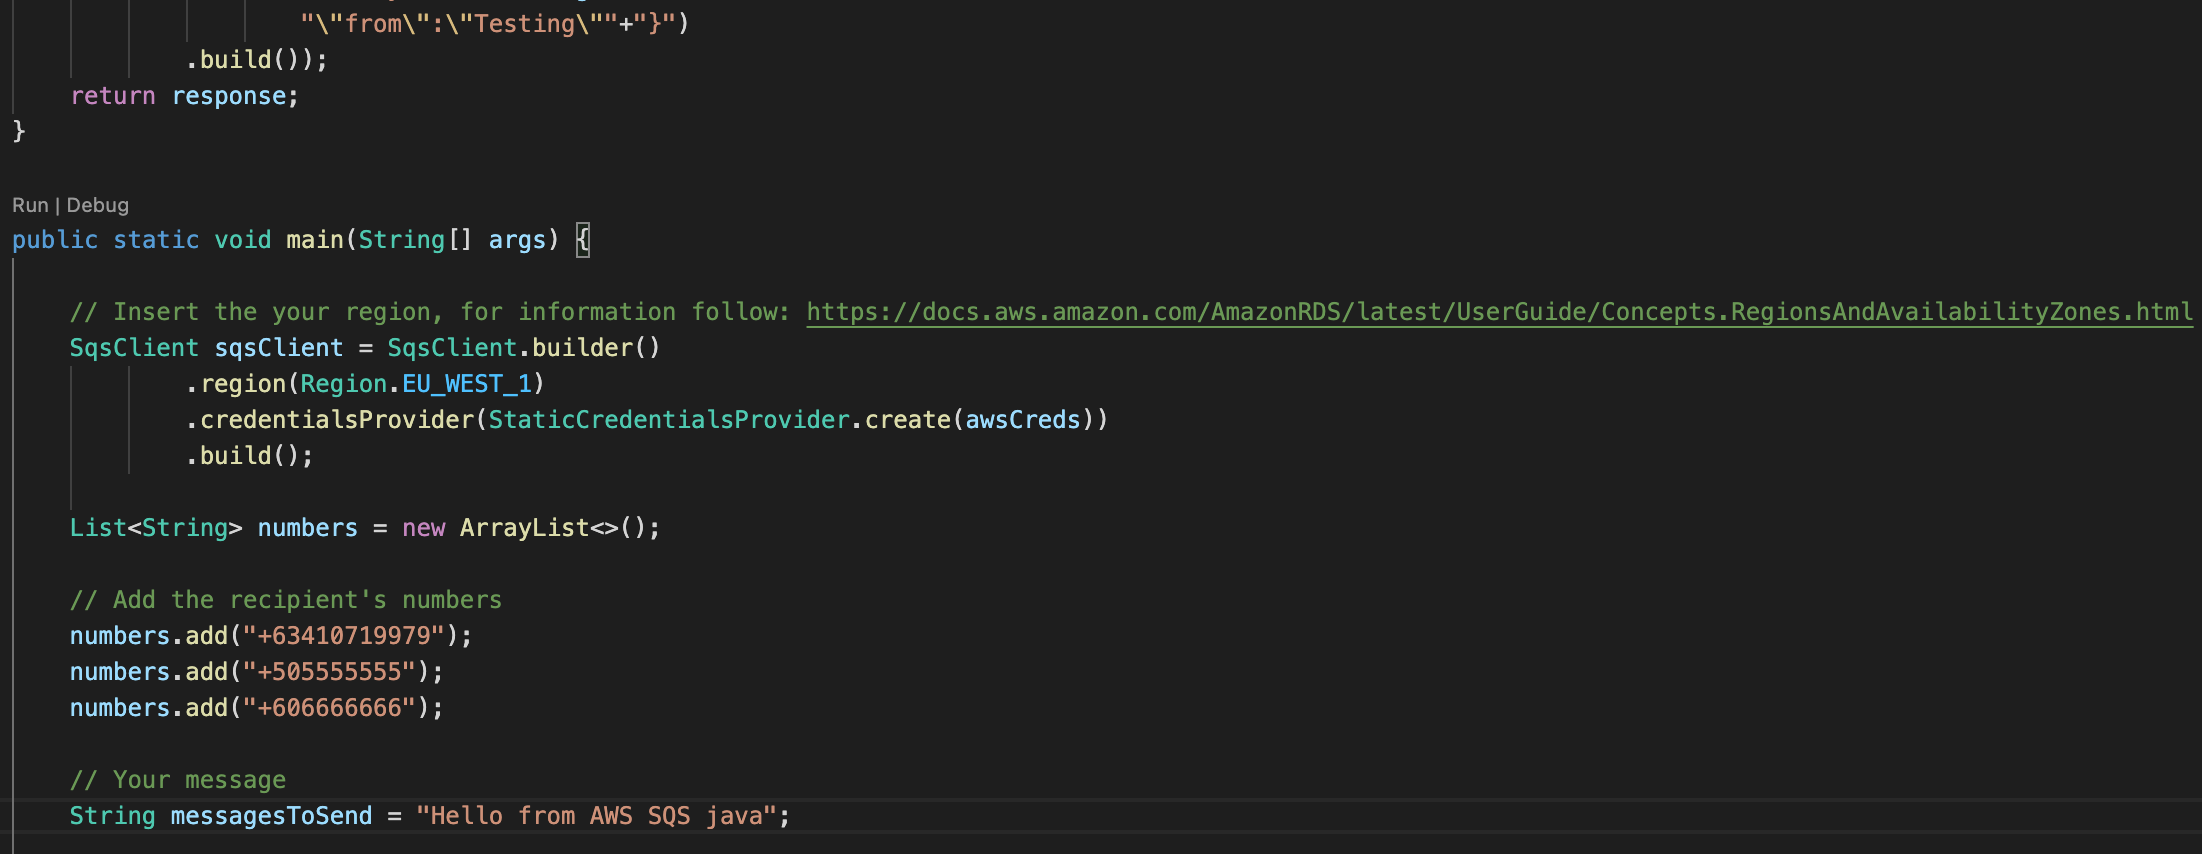
Run the program. You should see a message response like this in your IDE’s terminal:

Open the producer nodejs folder from any IDE.
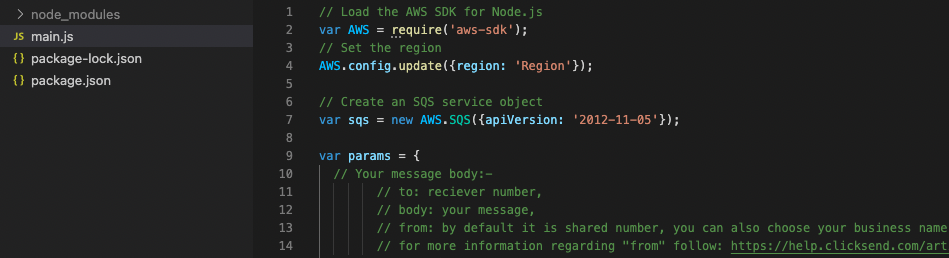
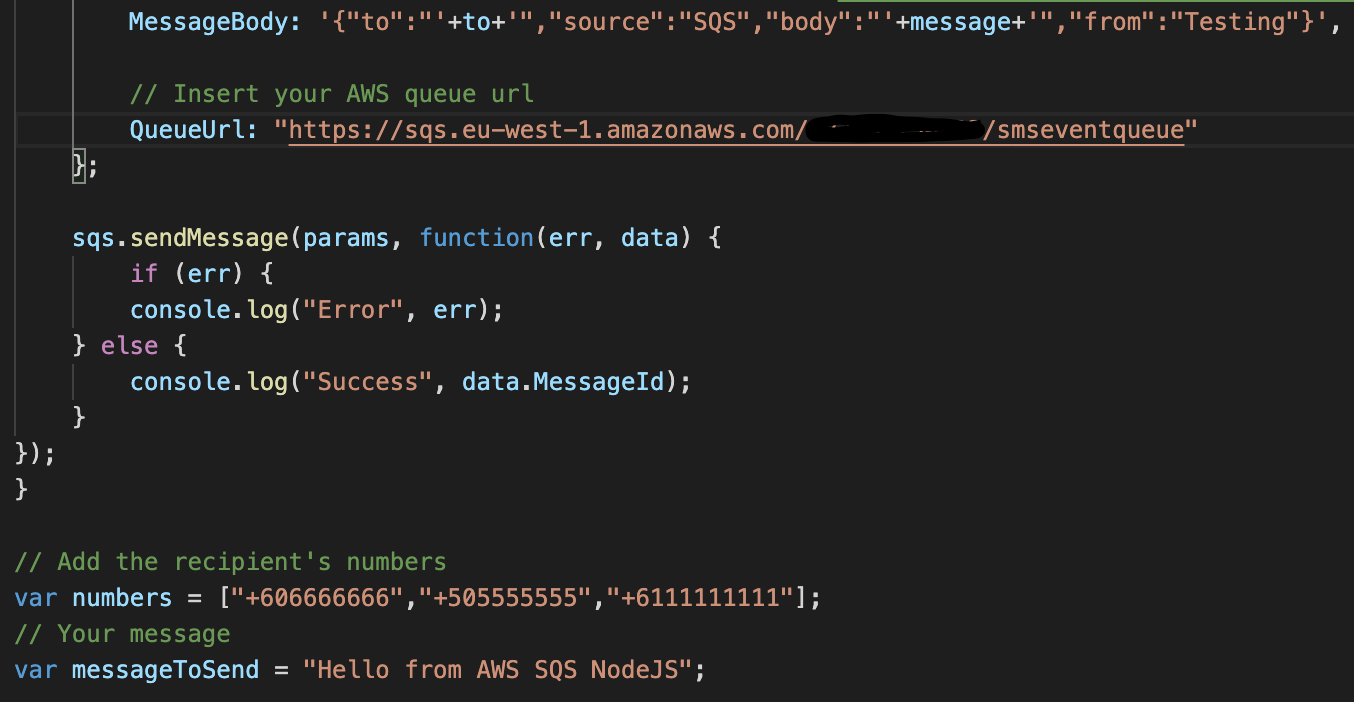
Replace the AWS SQS queue URL in the main.js file with the created queue URL, For example, on visual studio code:

-
Change the from, to, and message content. Check the comments in the file for more details:
-
Execute the "main.js" file by running the following command on command line / shell:
node main.js
You should see a success message like this in IDE's terminal:

-
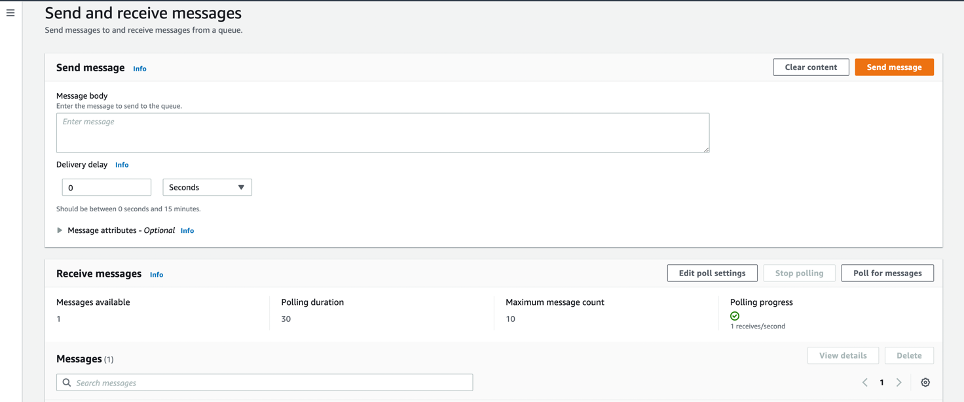
To check whether this message has reached the queue, click the “Send and receive messages” button.
-
Then click “Poll for messages”, there should be messages available.
Now we need to create an AWS Lambda function which will accept and send the messages to the ClickSend API.
-
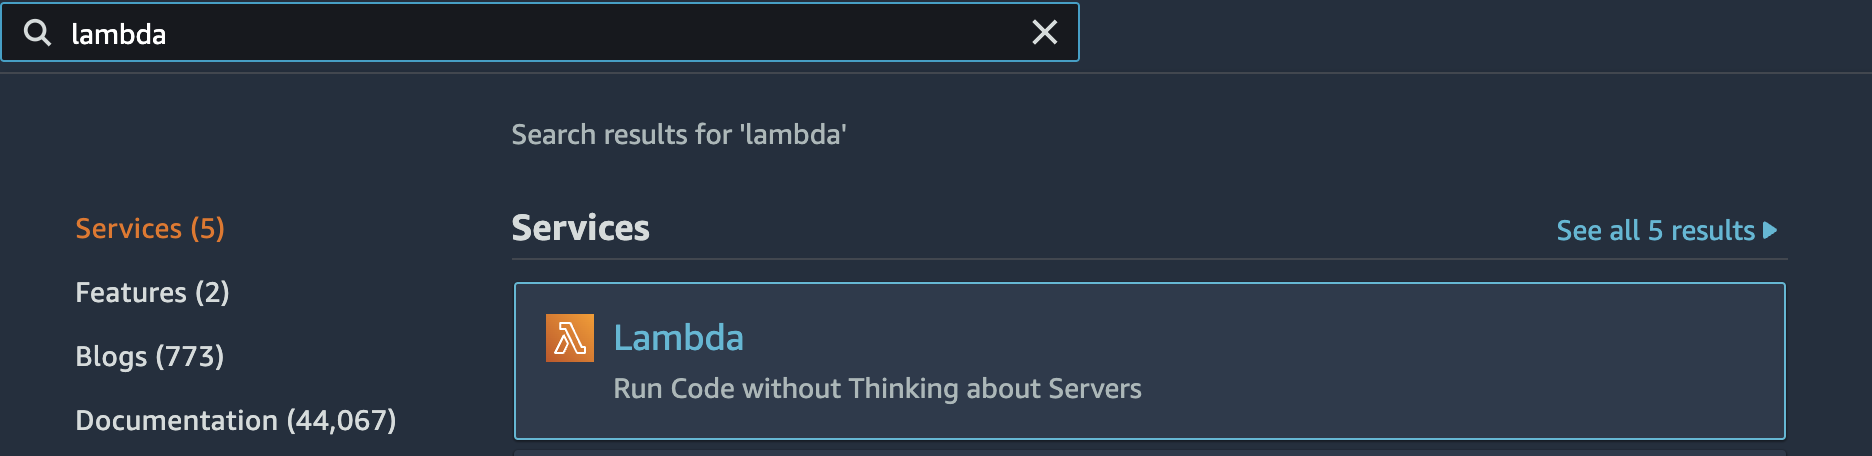
In the search bar of your AWS console enter and select Lambda.
-
Click create function

-
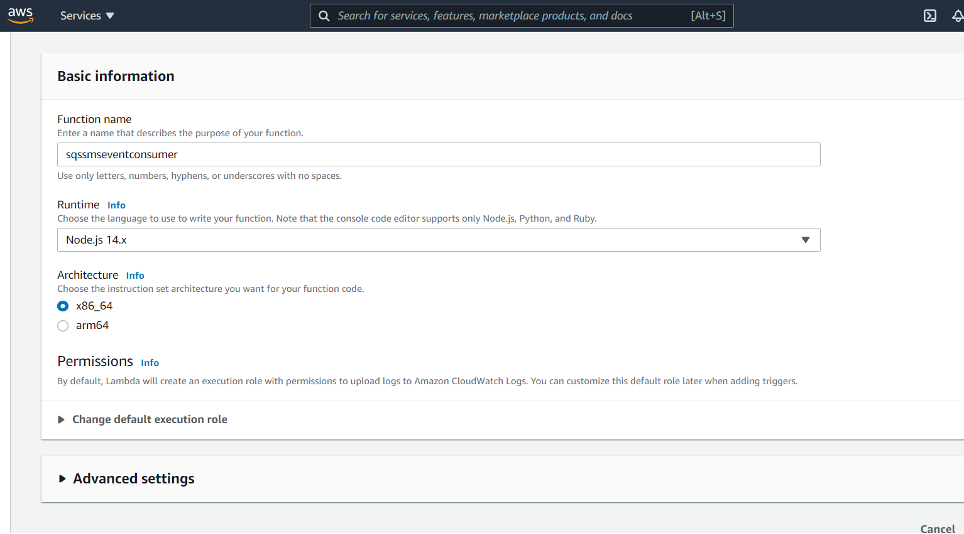
Enter a function name
-
In the permission section search and add “Amazon SQS poller permissions” under the “Policy templates” field. Click on “Create function”.

Now that our Lambda function is created, we need to add code this function that enables it to send the messages via the ClickSend API.
-
Browse to the consumer/Lambda folder on your computer from terminal/cmd.

-
Install ClickSend dependencies by running these commands:
-
Install ClickSend SDK for sending messages from the command line / shell
npm i clicksend
-
Install TypeScript which will be used to compile the code:
sudo npm install typescript
-
For compiling typescript into javascript:
sudo npm add request http bluebird @types/node
tsc --target es5 /node_modules/clicksend/api.ts
-
For more information, please follow the setup guide in GitHub.
-
-
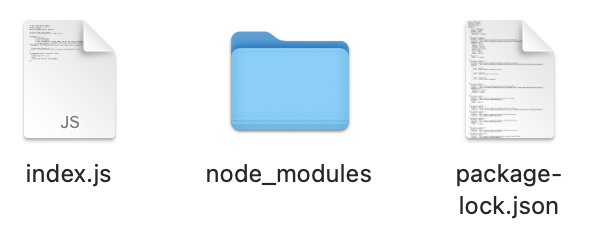
After the installation, you should have these files/folders in your consumer folder.
-
Compress these 3 files/folder into a zip file, choose any name.
-
Replace the “sqssmsconsumer” with the Lambda function's name and “Lambda.zip” with your zip file name. Run the command from your command line / shell:
aws lambda update-function-code --function-name sqssmsconsumer --zip-file fileb://Lambda.zip
-
Refresh the page, you should see notification stating:

-
Get your ClickSend credential, follow this link: ClickSend Credentials
-
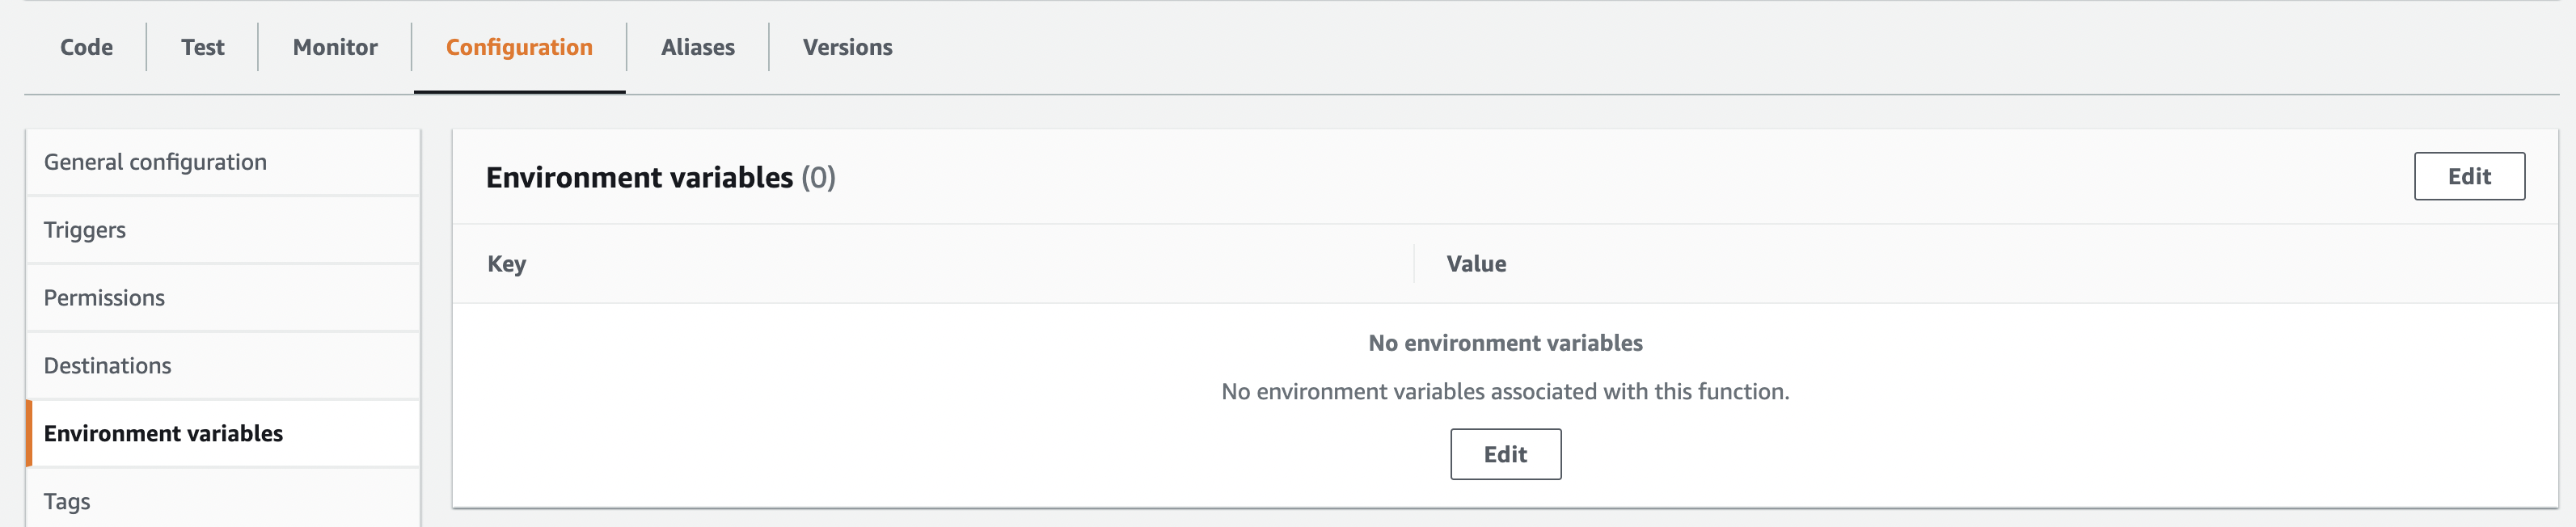
Set your ClickSend credentials on AWS Lambda, we need to create two environment variables on your Lambda function. Go to the configuration tab and click on "Environment variables". Then click on "Edit".
-
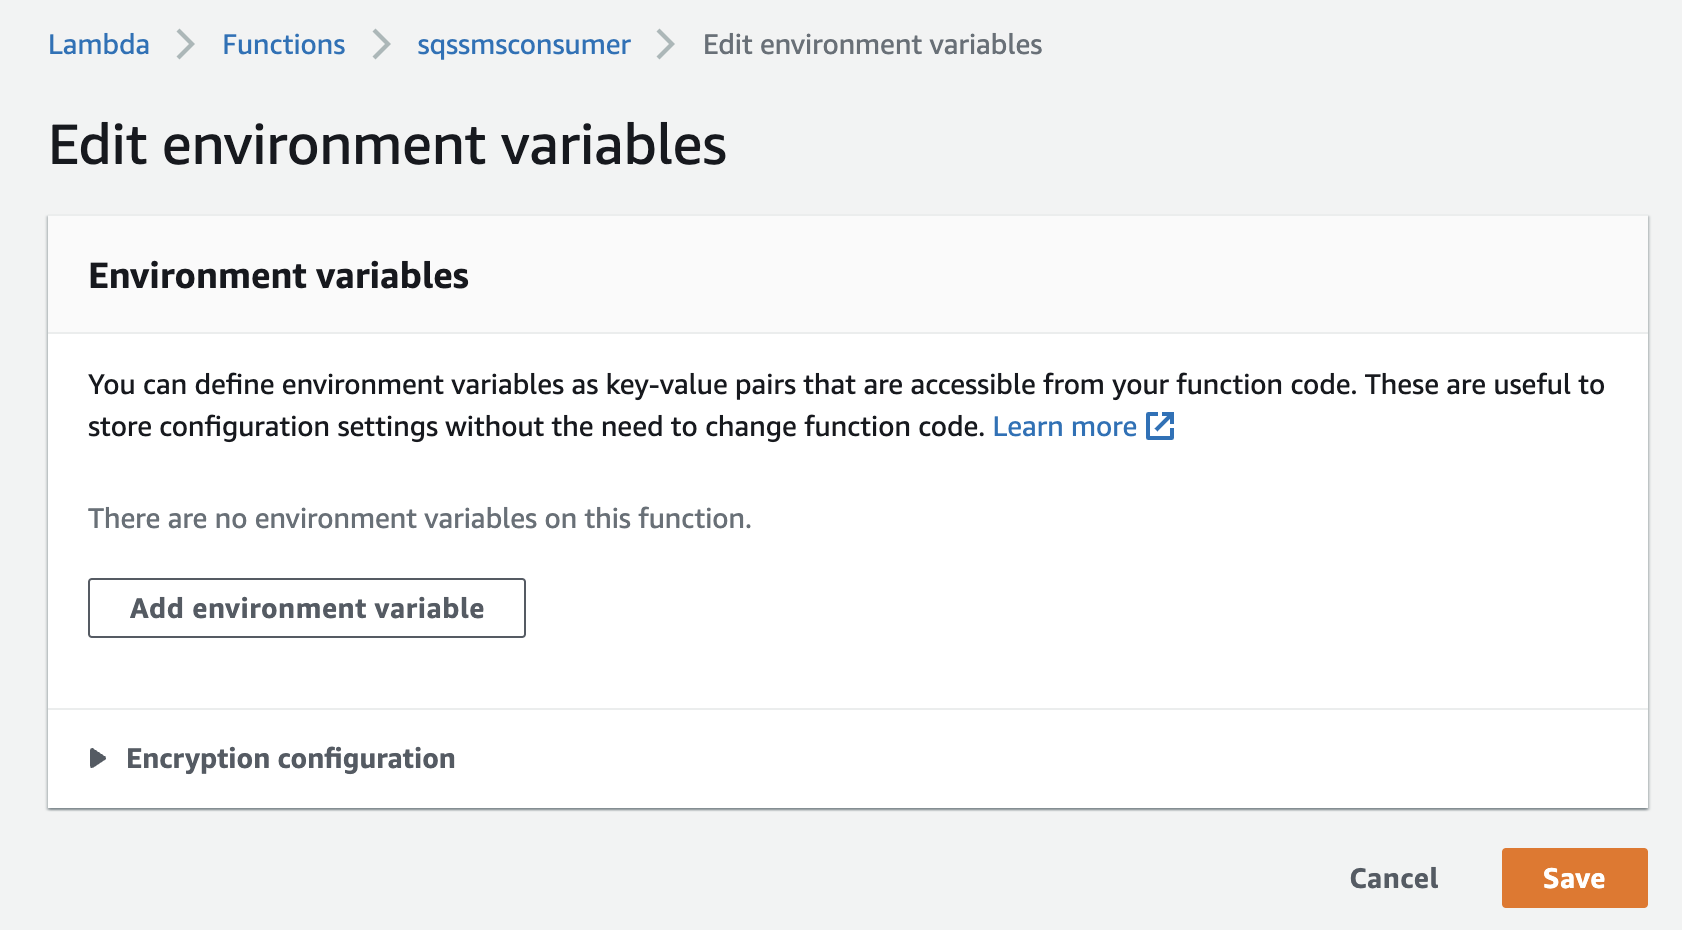
Click on "Add environment variable":
-
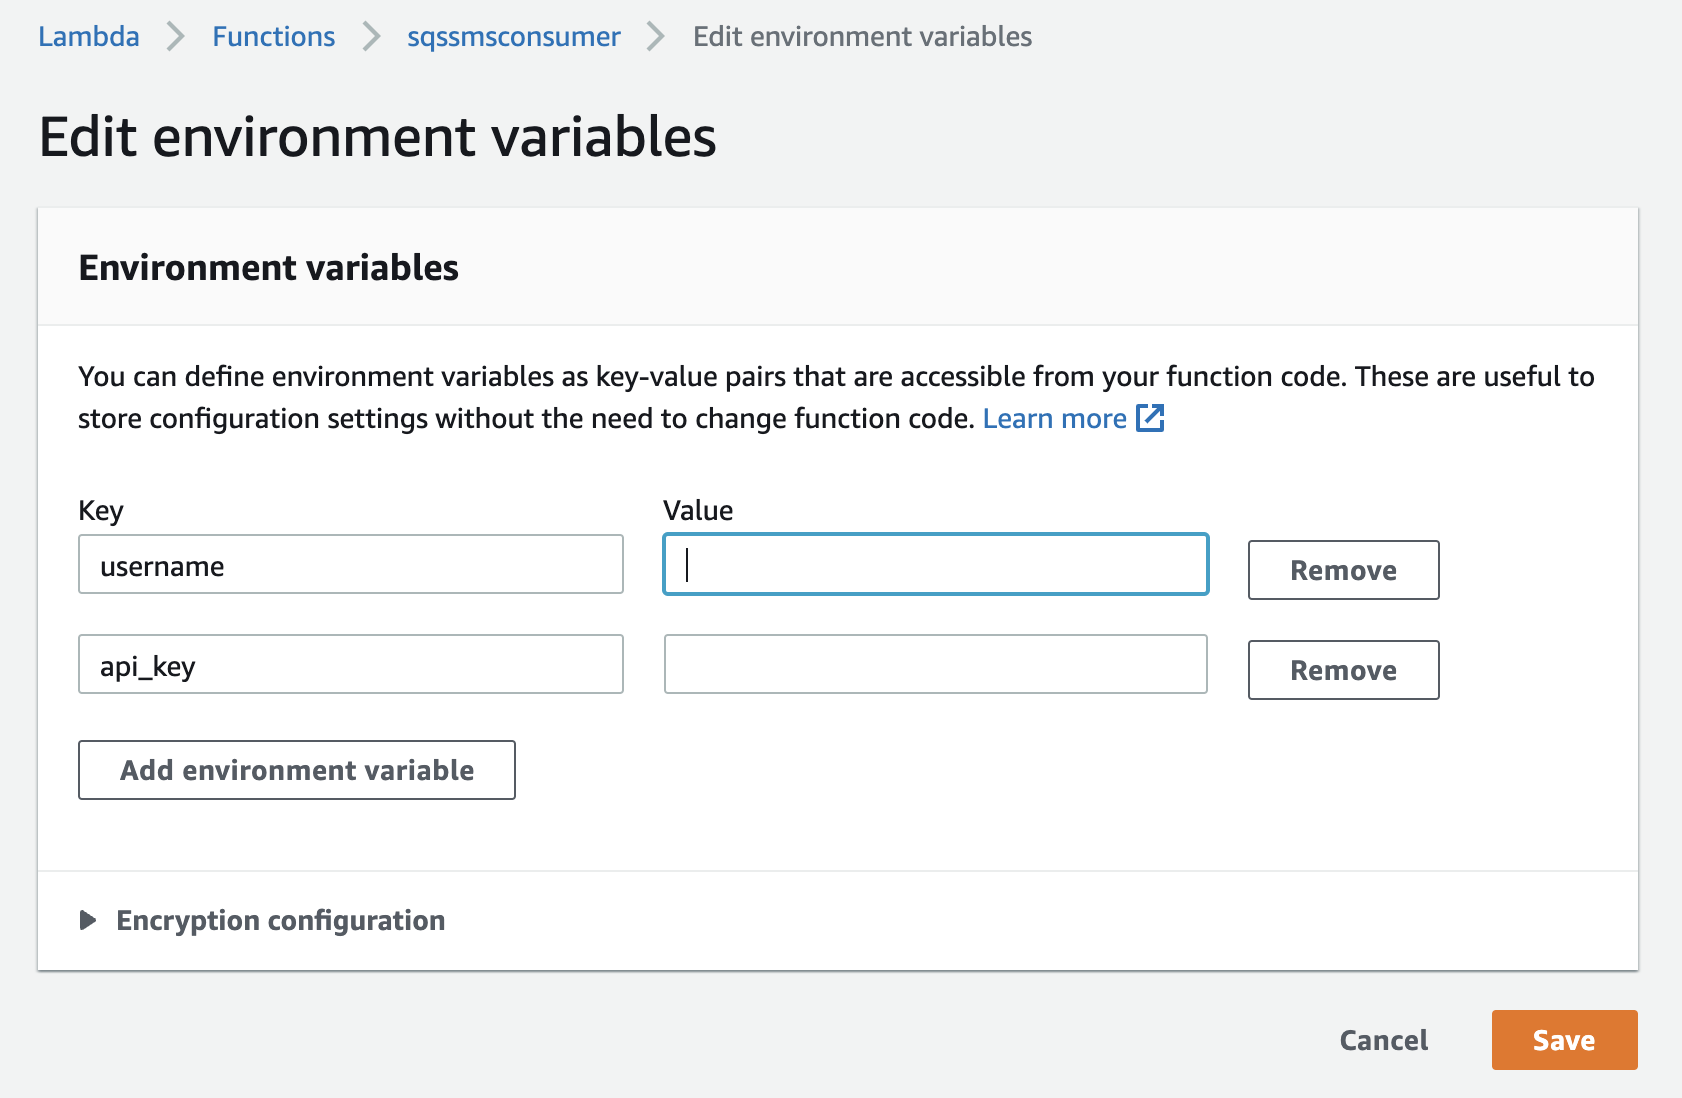
Create the two environment variables named “username” and “api_key” and insert your ClickSend credentials in the value column and click save.
-
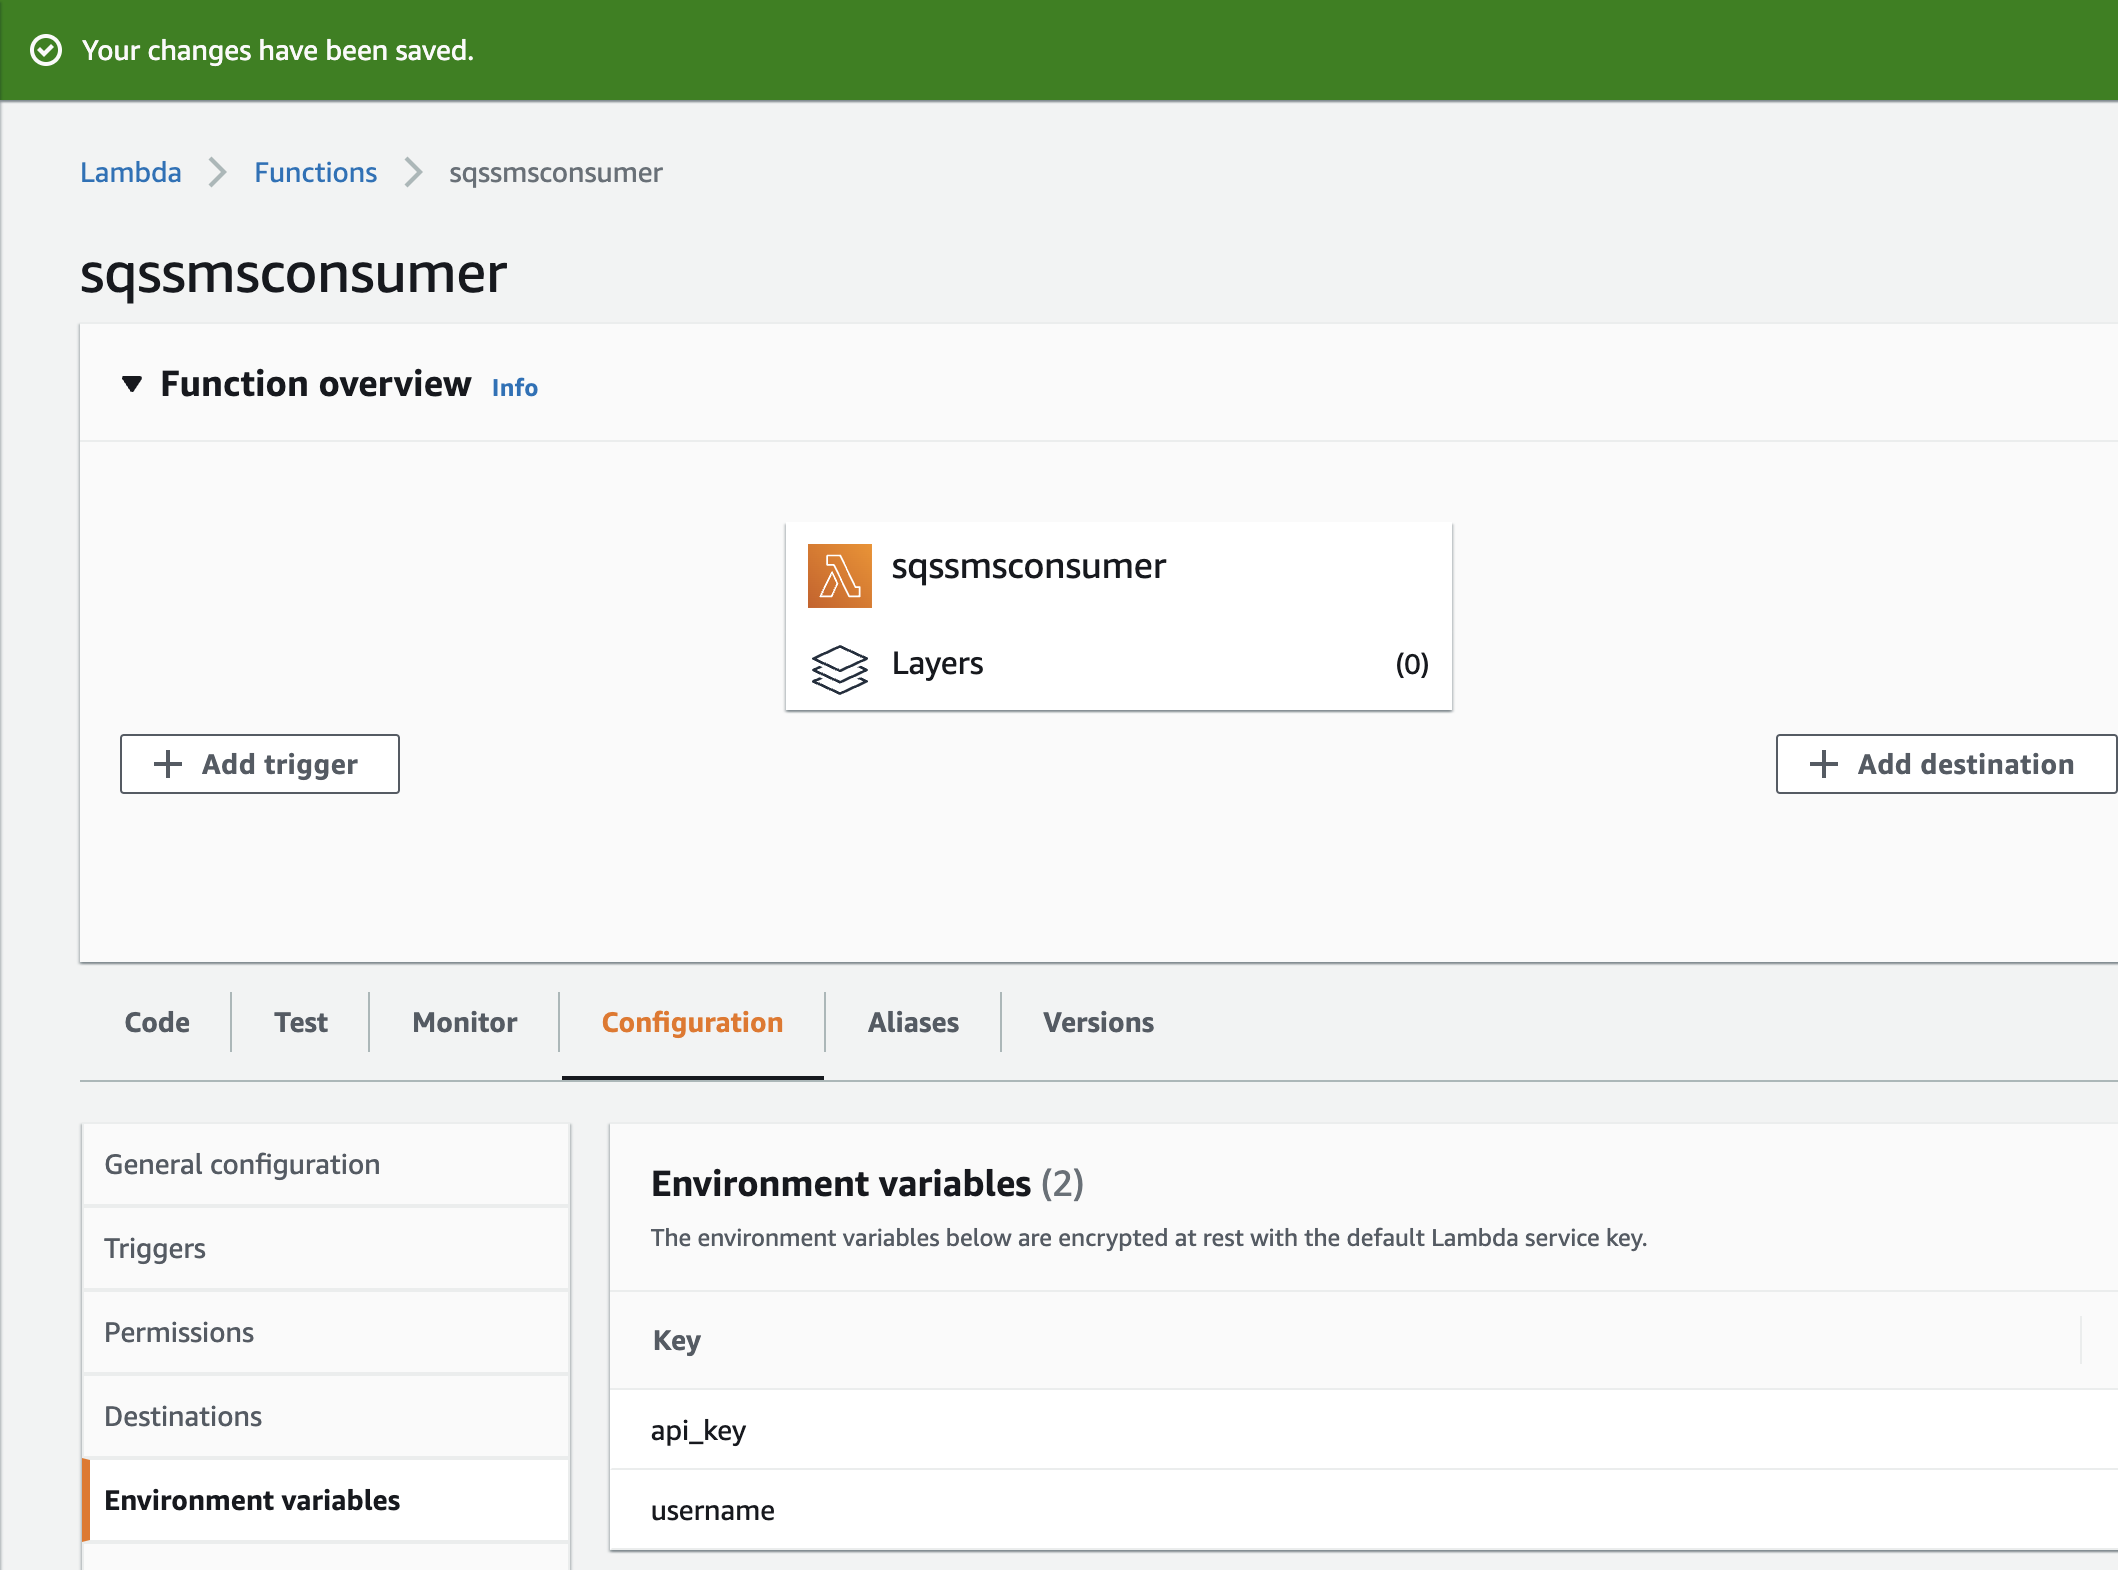
You should be able to see the created environment variable.
-
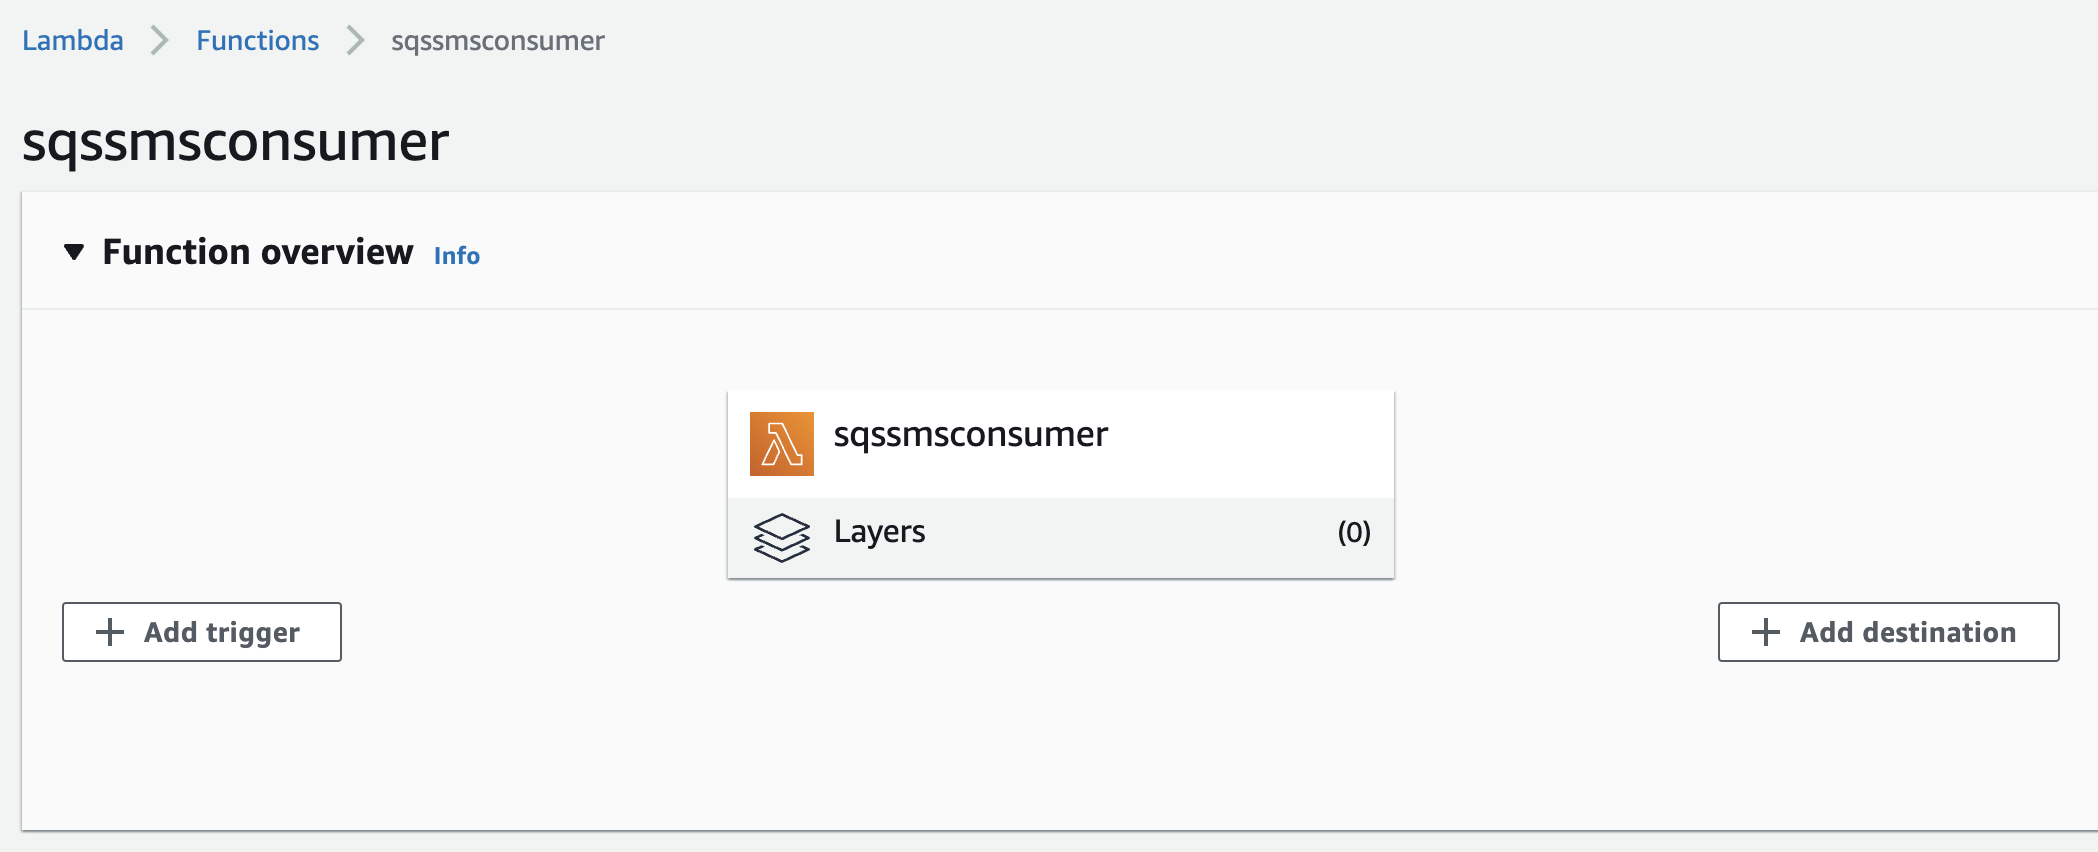
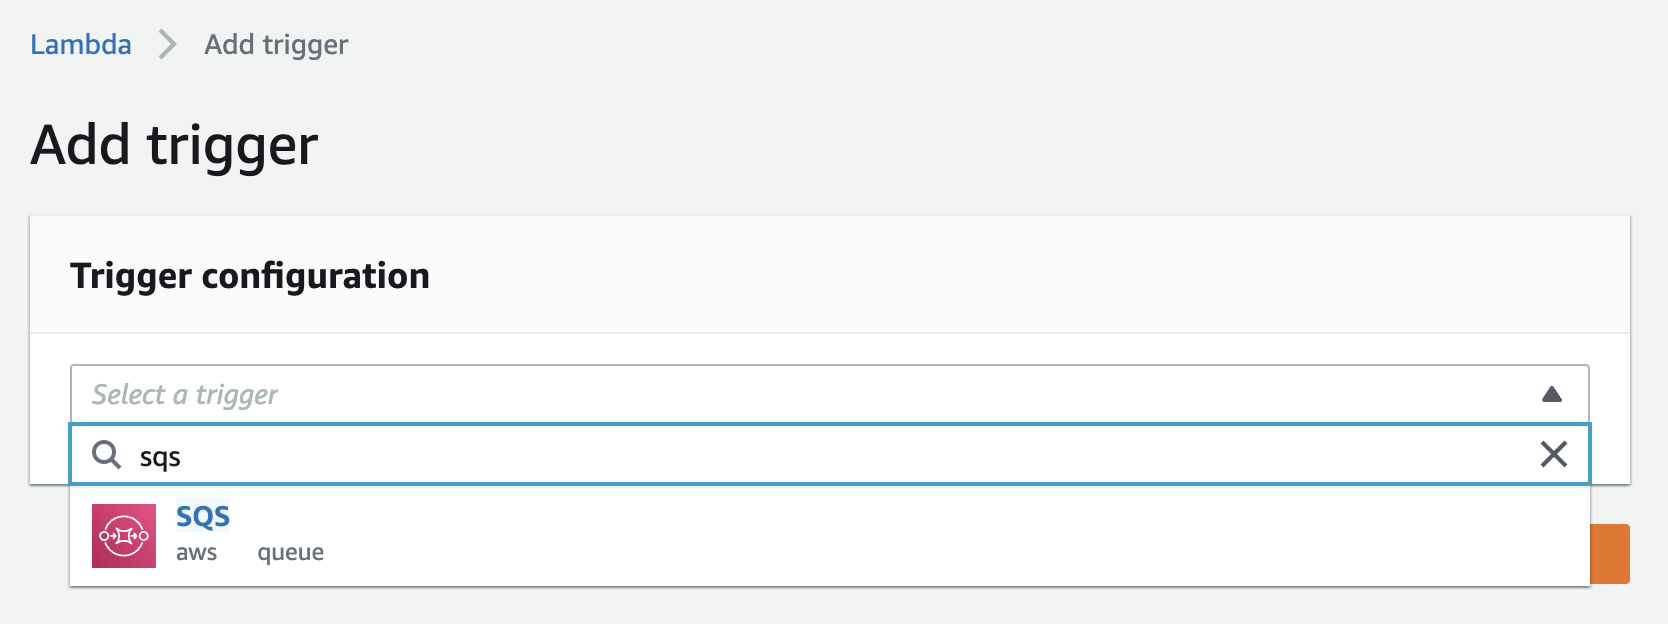
Click on the "Add trigger":
-
Search and select "SQS" from search bar
-
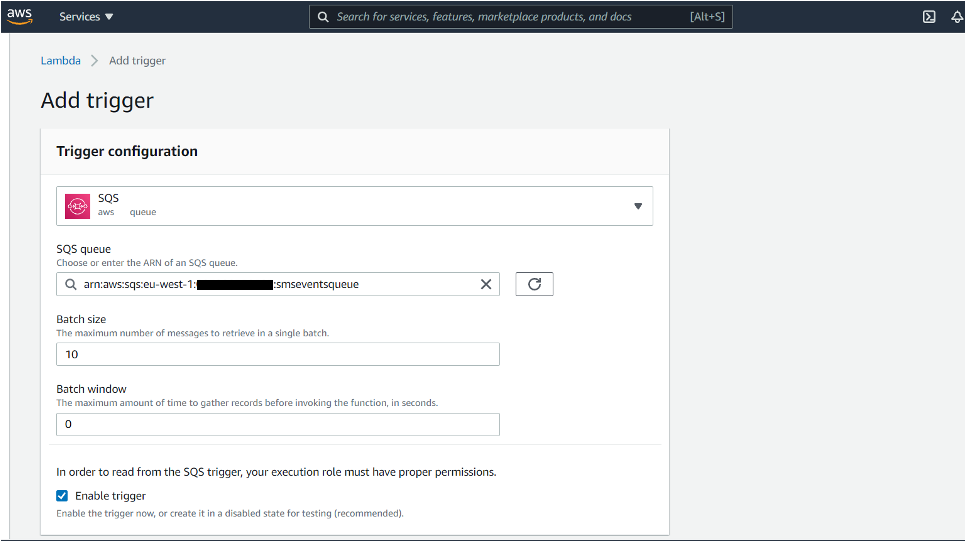
Search and select your created queue from the SQS queue search bar.
-
Click on the “Add” button. You should the following message:
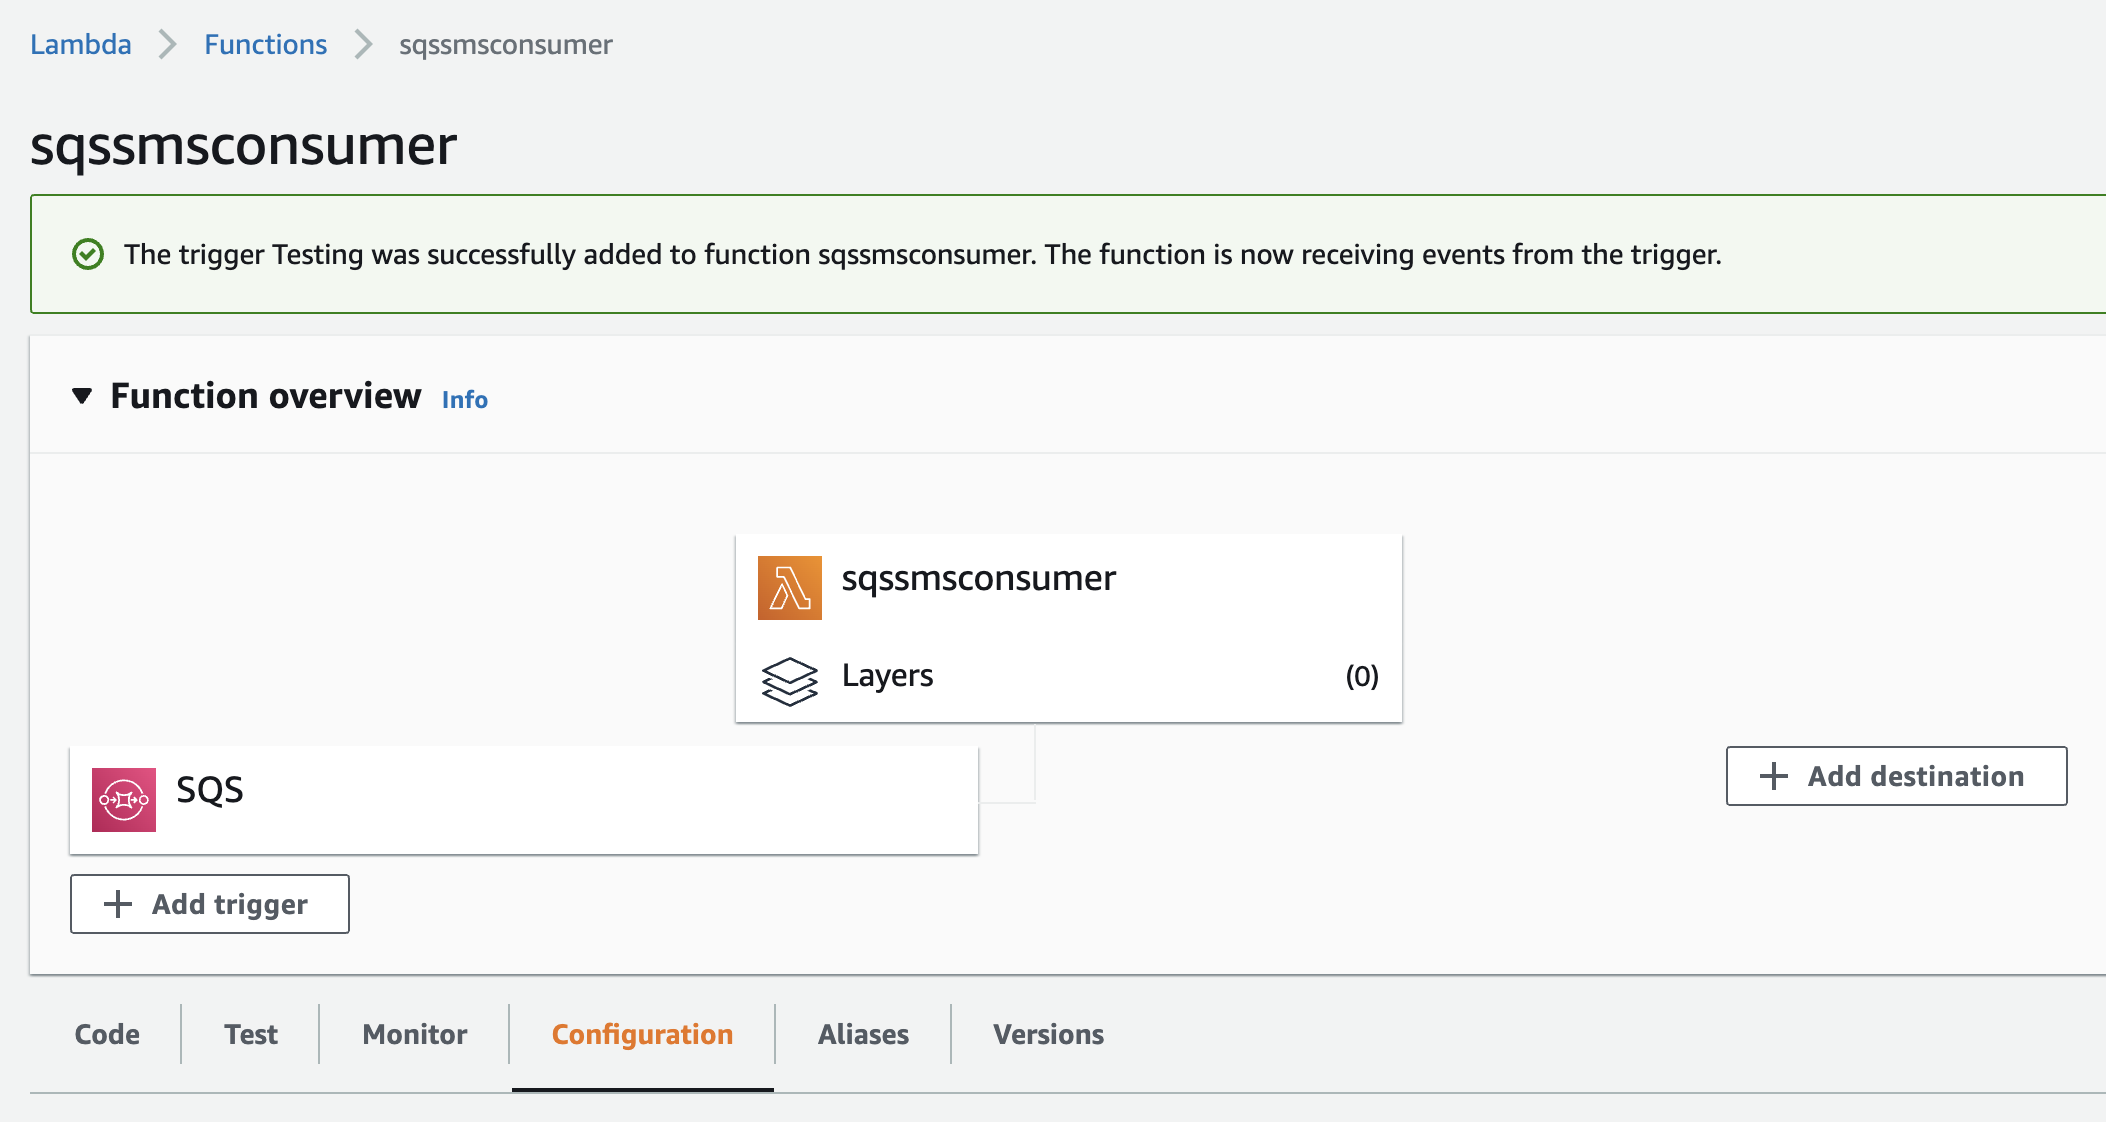
Done. Now everything is set up and configured.
Now whenever you want to send a message to someone, just change the parameters in the one of producers and run.
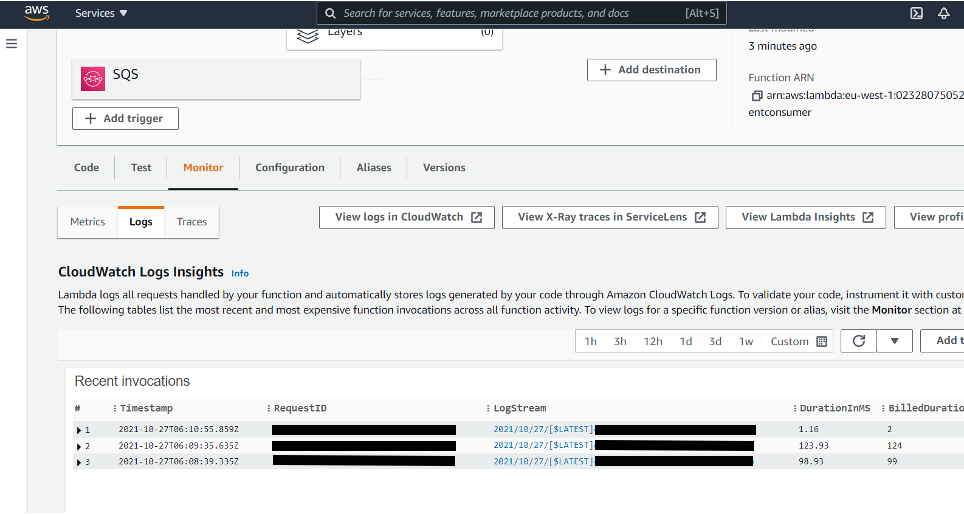
You can also see logs of your sent messages on the CloudWatch logs tab. If the log of messages does not appear here, click the “View logs in CloudWatch” button.